
You are here:
Work Outside of DevOps Center
After a work item is created, you can choose to do your development work entirely outside DevOps Center (without connecting to a development environment). After changes are merged in the source control system, the promotion is completed in DevOps Center or by using Salesforce CLI.
After you select which work item to work on, DevOps Center can create the feature branch or you can create the feature branch using the tools of your choice. Be sure to create the feature branch from the first pipeline stage’s branch, for example, Integration. Work item feature branches must follow this naming convention:
https://github.com/<GitHub-ID>/<Repo-Name>/tree/WI-000000https://bitbucket.org/<Workspace>/<Repo-Name>/branch/WI-000000Example:
https://github.com/jdoe/Recruiting_App/tree/WI-000015https://bitbucket.org/sfdc/Recruiting_App/branch/WI-000007- In DevOps Center, create a work item or select an existing one to associate with the work.
- Decide how you want the feature branch created.
- To have DevOps Center create the feature branch, click the work item ID. Select I Want to Develop and Commit My Changes to the Work Item Feature Branch From Outside of DevOps Center, then click Proceed.
- Create the branch directly in the source control repository from the first pipeline stage’s branch using the required naming convention.
- Use another tool, such as Salesforce Extensions for VS Code, to create a feature branch from the first pipeline stage’s branch using the required naming convention. Be sure to push the feature branch to the project repository.
After the branch is created and the event is reflected in DevOps Center, the work item status moves toIn Progress. You can start your development work.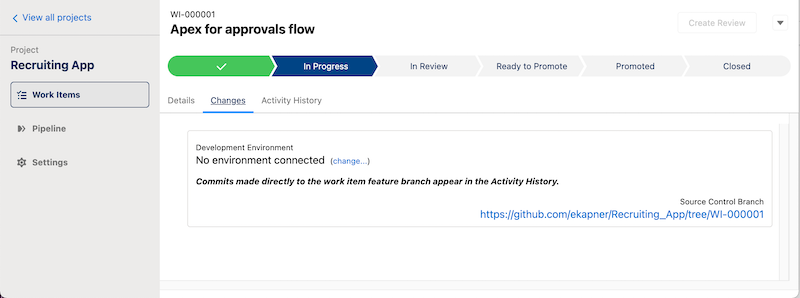
- After you complete your development work, commit your changes in the source control
system.
If you commit your changes locally, don’t forget to push them to the repository. After you commit your changes, the changes in the feature branch are reflected in DevOps Center.
- Decide how to create the change request and promote your changes to the first stage in the
release pipeline.
- Create the change request and promote your changes in DevOps Center. See Review Changes with Team Members and Promote Individual Work Items to continue.
- Create a change (pull) request and merge your changes in the source control system, then complete the promotion in DevOps Center. See Promote Changes Merged Outside of DevOps Center to continue.
- Create a pull request and merge your changes in the source control system, then deploy the changes to the pipeline stage’s environment using Salesforce CLI. See Deploy Changes Using Salesforce CLI (Beta) for details.