
You are here:
Receive a File with an Enhanced Bot
Set up your enhanced bot to request and store a file upload from a customer, so you can reduce service rep handle time by collecting files before a service rep joins the conversation. For example, request documentation related to an insurance or other reimbursement claim. Or prompt a customer for additional information about a possible issue, such as a screenshot of an error message.
Required Editions
| View supported editions for Einstein Bots. |
| View supported editions for Messaging. |
| User Permissions Needed | |
|---|---|
| To build and manage Einstein Bots: | Customize Application OR Modify Metadata OR Manage Bots |
Supported file types and sizes vary by channel. See Send Images and Files in Messaging Sessions.
Each File dialog step accepts one successful upload only, so keep these considerations in mind when designing your dialog.
- On most channels that support multiple file attachments, the bot end user must attach all files in one message. If the user attempts to send one file per message, the first file is saved and the bot moves to the next step in the dialog. If you expect your user to upload multiple files, include specific guidance in the Message field of your File step. A Enhanced Chat user can only send one total file to an enhanced bot.
- Create a File dialog step each time you request a file from your customer. If you reuse the same File dialog step, each customer response overwrites the variable and only the most recent file upload is stored.
- For best results, the bot end user should attach a file to a blank message. On some channels, when a message includes text and an attached file, the text and file are broken into separate messages and the text is delivered before the file. The bot recognizes the first message as the upload attempt and enters upload failure handling, if configured. Consider including specific guidance in the Message field of your File step and in any retry attempts.
- From the Bot Builder, select Dialogs, and then select the dialog that you want to use to receive a file upload.
- From the Dialog Component Library, drag the File dialog step onto the canvas.
- In the Step Properties panel, in the File Interaction field, select Receive File.
-
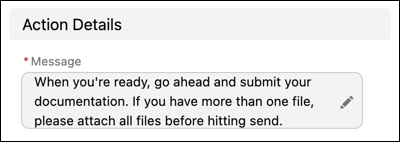
Enter a message that prompts the bot end user to send a file. We recommend telling your
user to attach their file to a blank message. If you expect your user to upload multiple
files, tell your user to submit all files in one message.
-
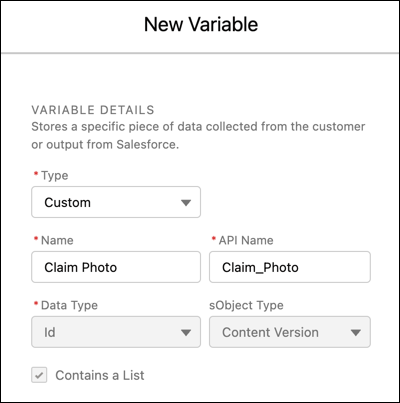
Select or create an ID list variable with the object type set to Content Version to
store the reference to the file.
-
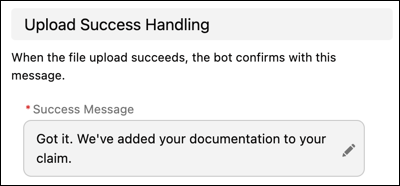
In the Upload Success Handling section, enter a message to confirm that the end user’s
file upload was successful.
-
Optionally, add upload retry attempts to prompt the end user to try again if the
initial file upload fails. In the Upload Failure Handling section, include one or two
retry attempts, and add details about any file type and size requirements.
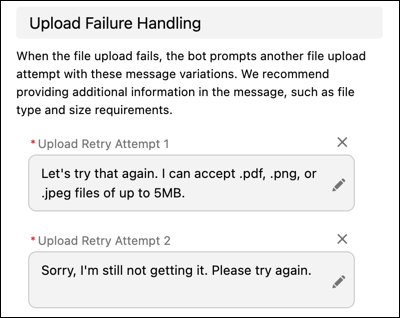
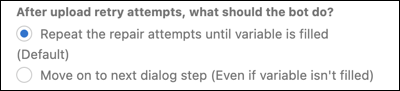
After the bot makes these attempts, tell the bot how to resolve the issue. Specify whether the bot prompts the customer to send a file until the upload is successful or moves on to the next dialog step without filling the variable.
- Save your changes. Then when you’re ready, activate your bot.
When a file upload is successful, the file is attached to the messaging session and stored in the Files page of Setup.