You are here:
Create a Close Case Quick Action
To give your support reps the Close Case action in Lightning Experience, create an action and add it to the case page layout.
Required Editions
| View supported editions. |
| User Permissions Needed | |
|---|---|
| To set up cases for Lightning Experience: | Manage Cases AND Customize Application |
As of Spring '20, Closed status values for Case are no longer visible by default in Lightning Experience and are tied to the Support Settings "Show Closed Statuses in Case Status Field" setting. Salesforce orgs with Groups edition no longer see Closed status options for inline editing. Enable "Show Closed Statuses in Case Status Field" to let users closed a case via the Status field, or add the Close Case action.
The Close Case button is included with Salesforce Classic. However, you must create it in Lightning Experience.
- From Setup, click the Object Manager tab. Select Cases, and open the Buttons, Links, and Actions setup page.
- Click New Action.
- For Action Type, select Update a Record.
-
For Standard Label Type, select None. For Label, enter
Close Case. The Name field is auto-filled. Optionally, enter a
description and success message.
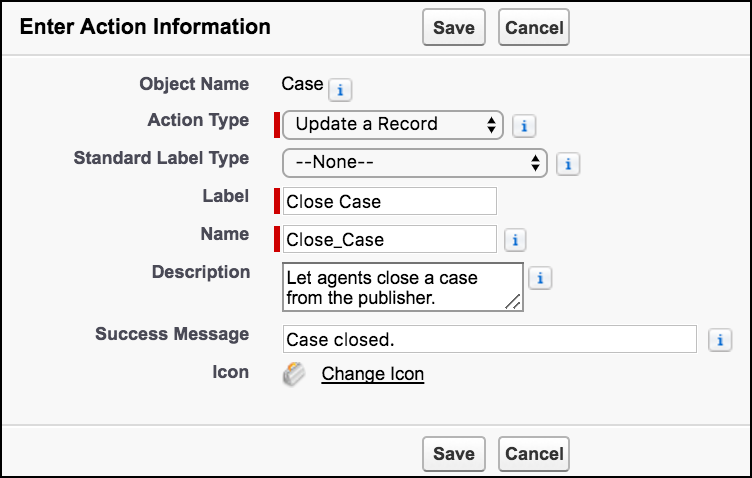
- Click Save.
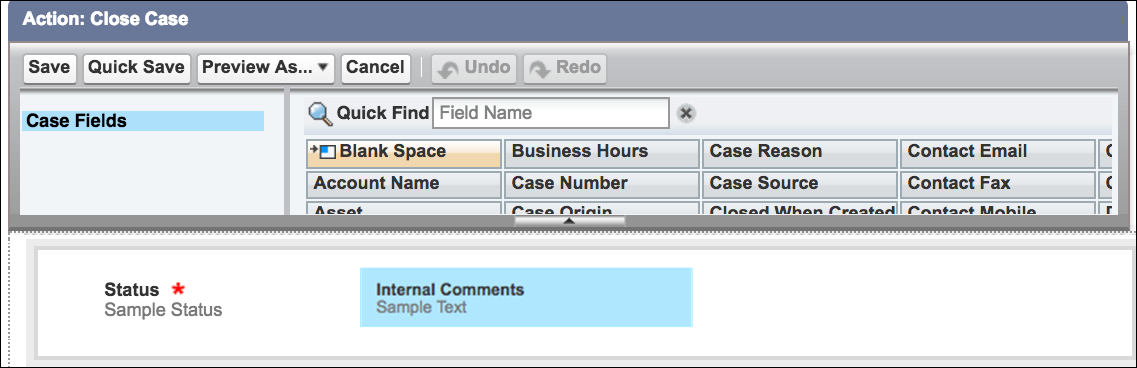
-
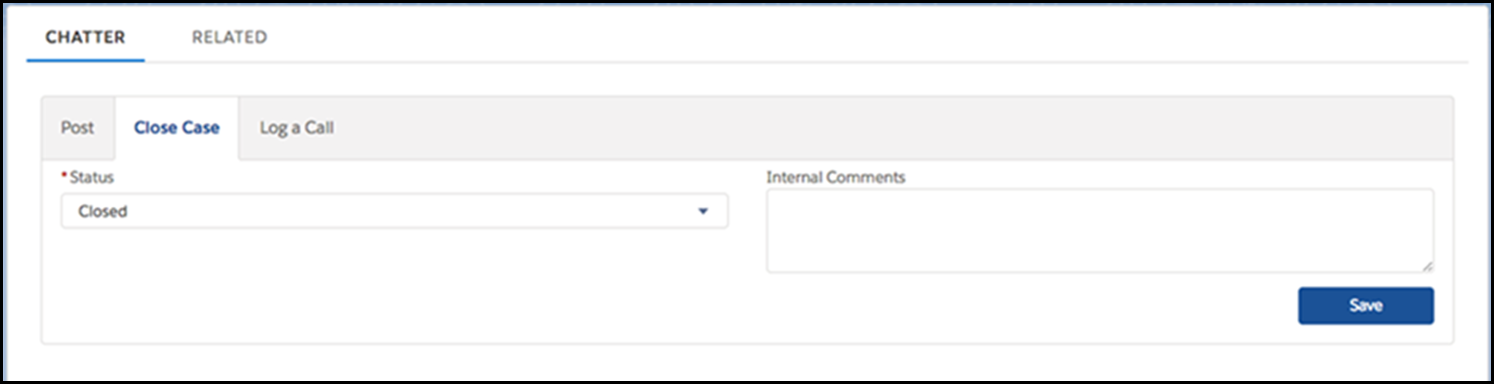
To customize the action layout to display only the Status and Internal Comments fields,
remove the other fields, and click Save.
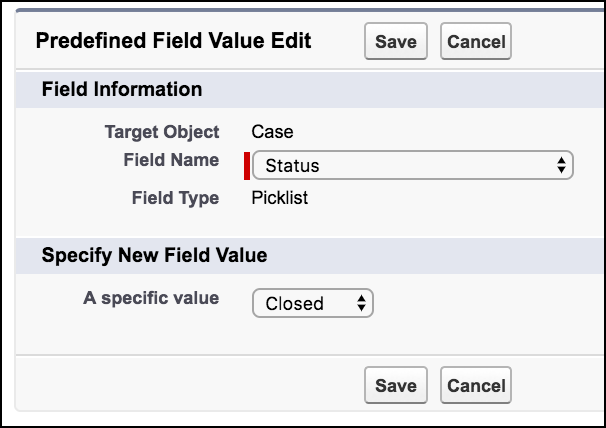
- In the Predefined Field Values section, click New.
-
Assign the Status field the Closed field value, and click
Save.
-
Go to the Case Page Layouts setup page, and edit your case layout.
Drag the new quick action to the Salesforce Mobile and Lightning Experience Actions section, and click Save.
When a support rep clicks the action from the Service Console, the Status field displays Closed. Support reps can now close a case with two clicks—one for the action button and one to save.