
You are here:
Create a Facebook Messenger Channel in Service Cloud
Let customers communicate with your business using Facebook Messenger. Customers send messages to your Facebook page, and service reps reply from the Service Console. To control how incoming messages are routed, link an Omni-Channel flow or routing configuration to your Facebook Messenger channel.
Required Editions
| View supported editions. | |
 This article applies to:
|
Standard and Enhanced Facebook Messenger channels |
 This article doesn’t apply to:
|
Enhanced In-App Chat, Enhanced Web Chat v1, Enhanced Web Chat v2, Enhanced WhatsApp, Standard and Enhanced SMS, Enhanced Apple Messages for Business, Enhanced LINE, and Bring Your Own Channel |
| User Permissions Needed | |
|---|---|
| To set up Messaging: | Configure Messaging |
| To view Facebook Messenger channels: | View Setup and Configuration |
| To create Facebook Messenger channels | System Administrator AND Configure Messaging OR Configure Messaging AND Customize Application AND Manage Auth. Providers AND View Setup and Configuration AND Modify All Data |
| To authorize Facebook: | Customize Application AND Manage Auth. Providers |
Before you start, you need a Facebook account, Facebook username and password, and a Facebook page. Use this information to authenticate, or log in, to Facebook so that you can select the Facebook pages to use with Messaging. You must be the administrator of the Facebook page to add the page to Messaging.
- From Setup in Lightning Experience, enter Messaging in the Quick Find box, and select Messaging Settings.
- In the Channels section, click New Channel | Start | Facebook Messenger to create an enhanced channel.
-
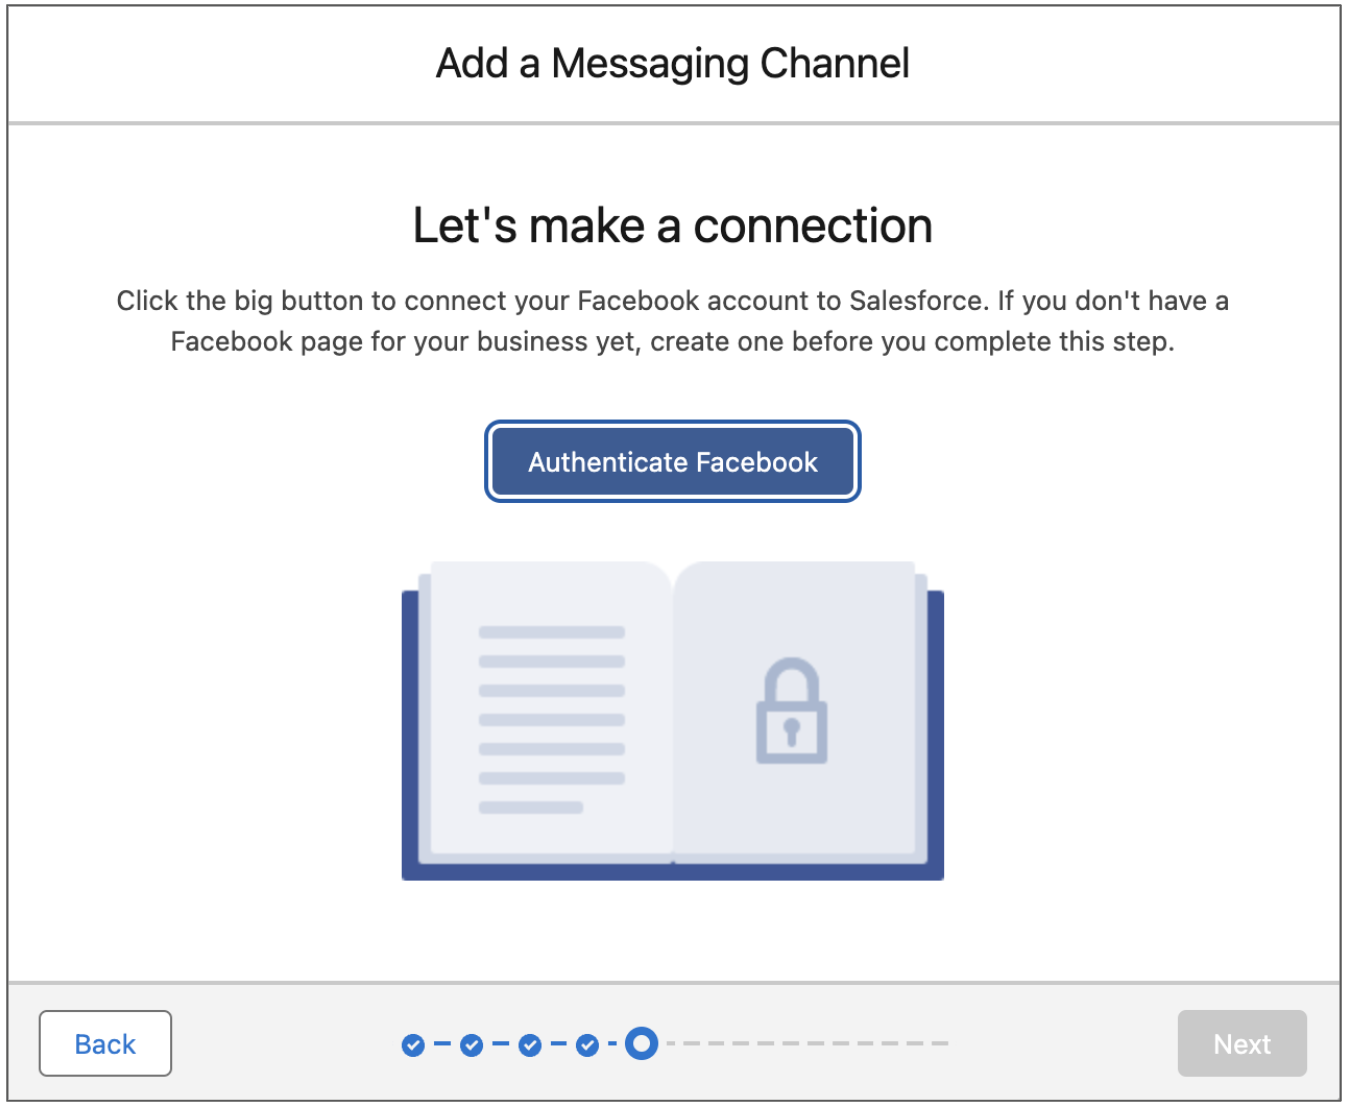
Follow the prompts to log into Facebook and select a Facebook page to use with
Messaging. You can select only one Facebook page at a time.
- After completing authentication, click Next.
- In the Chat Acknowledgment field, enter a message that’s sent in response to a customer’s initial message. For example, thank the customer and let them know you’re reviewing their message.
- Click Next.
-
Choose how to route incoming messages to service reps.
- To set up a basic routing solution from scratch, select Create a new queue. The flow walks you through creating a queue and routing configuration and adjusting service rep messaging workload.
- To use an existing queue or an Omni-Channel flow, which supports more complex routing logic and lets you route to bots, select Set up routing later.
- Complete and exit the flow.
-
If you selected Set up routing later, finish configuring your
routing.
- On the Messaging Settings page, find your new channel and click Edit in its action menu. Then, go to the Routing section.
- To route to an Omni-Channel flow, select the Omni-Flow routing type and select a flow and fallback queue. To route to a queue, select the Omni-Queue routing type and select a queue.
- Save your changes.
- Now that you’ve set up your channel, take advantage of other features to customize the messaging experience for service reps and customers. Set up notifications for your channel, customize your opt-in and opt-out keywords, create custom auto-responses, add an Einstein bot, and more. See Increase Messaging Productivity.