
Prepare for Self-Service Scheduling
Before you set up Appointment Assistant Self-Service Scheduling, follow these steps.
Required Editions
| Available in: both Salesforce Classic (not available in all orgs) and Lightning Experience |
| The Field Service core features, managed package, and mobile app are available in Enterprise, Unlimited, and Developer Editions. |
| The Field Service Appointment Assistant managed package and permission set license are required. |
| User Permissions Needed | |
|---|---|
| To create permission sets: | Manage Profiles and Permission Sets |
| To create, customize, or publish a site: | Create and Set Up Experience Sites AND View Setup and Configuration |
Step 1: Assign a Permission Set
You can use this permission set for Field Service mobile workers and Field Service admins. For Appointment Assistant Self-Service Scheduling, you need only one Appointment Assistant license per Salesforce org to book or reschedule appointments.
- From Setup, in the Quick Find box, enter Users, and then select Permission Sets.
-
Create a permission set.
- Click New.
- For Label, enter the name of the permission set, for example, Appointment Assistant.
- Click the API Name field to populate it.
-
For License, select Field Service Appointment Assistant.
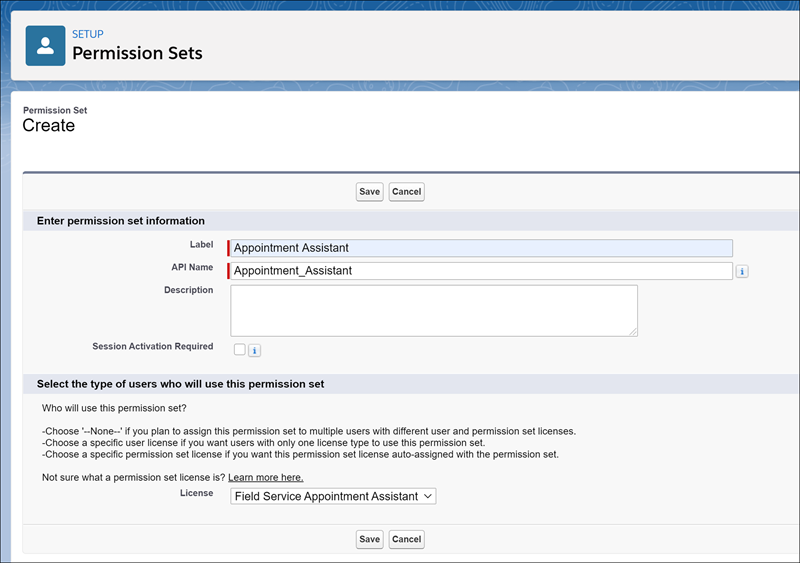 The Field Service Appointment Assistant license is an add-on license. If the license isn’t available for selection, ask your account executive for help.
 - Save the permission set.
-
Enable the permission set.
- Open the Appointment Assistant permission set that you created.
- In System, click System Permissions.
-
Click Edit and enable the Field Service Appointment Assistant
permission.
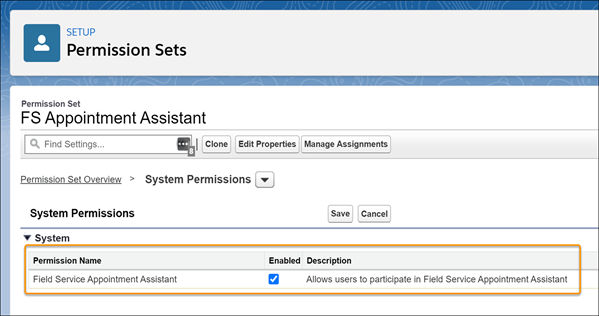
- Save your changes.
- Assign this permission set to one of the admin users.
Step 2: Set Up the Experience Site for Authenticated Users
Contacts can view your Experience Site to book, reschedule, cancel, and confirm their appointments after logging in.
- From Setup, in the Quick Find box, enter Users, and then select Users.
-
Add permissions to the contact user who has login permissions to the Experience
Site.
- In Permission Set License Assignments, enable the Field Service Standard permission.
- In Permission Set Assignments, add Field Service Self Service Permissions.
-
From the user profile, enable the Apex classes.
- Go to Enabled Apex Class Access, and click Edit.
-
Add these Apex classes:
-
From the user profile, enable access to the flows.
- Go to Enabled Flow Access, and click Edit.
- Add your Self-Service Scheduling flows to the enabled flows.
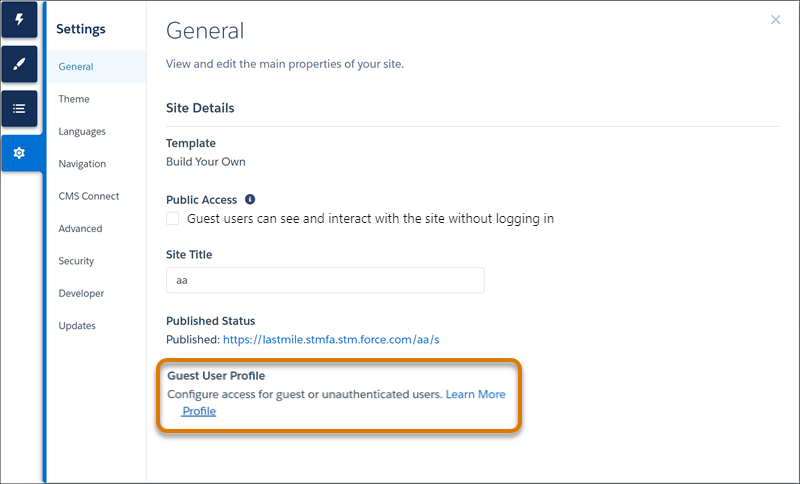
Step 3: Set Up the Experience Site for Guest Users
Guest users can view your Experience Builder site without logging in. All guest visitors to a public site share a guest user record, one per site, and have the same access level.
- From Setup, in the Quick Find box, enter Digital Experiences, and then select All Sites.
- In the row for your site, click Builder.
-
In Experience Builder, click Settings
 .
.
-
Enable public access.
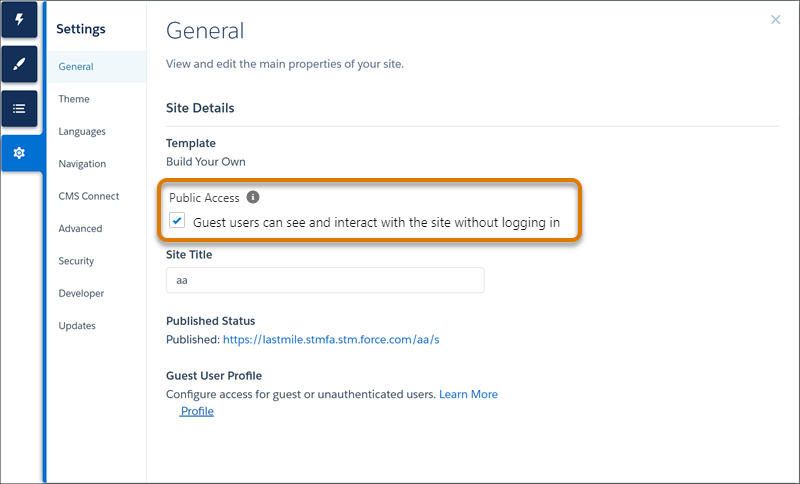
-
In Guest User Profile, click <Your Site Name> Profile.
-
From the guest user profile, add permissions.
- Click View Users, and then click the user’s name.
- In Permission Set License Assignments, click Edit Assignments, and enable Field Service Guest User. Then, save your changes.
-
In Permission Set Assignments, click Edit Assignments, and add
Field Service Guest User Permissions to the enabled permission sets.
Then, save your changes.
If Field Service Guest User Permissions doesn’t appear in the list, create a Field Service permission set for guest users.
-
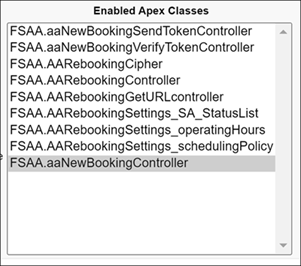
From the guest user profile, enable the Apex classes.
- Go to Enabled Apex Class Access, and click Edit.
-
Add these Apex classes:
Note Make sure that the guest user has access to these objects.
- Assets: Read
- Contacts: Read
- Locations: Read
- Operating Hours: Read
- Recordset Filter Criteria: Read
- Service Appointments: Read, Create
- Service Crews: Read
- Service Resource Preferences: Read
- Service Resources: Read
- Service Territories: Read
- Service Territory Member: Read
- Shifts: Read
- Work Orders: Read, Create
- Work Type Groups: Read
- Work Types: Read
Did this article solve your issue?
Let us know so we can improve!