
You are here:
Build a Data Capture Flow
Data Capture presents mobile workers with dynamic, responsive forms that work online or offline. You can apply conditions to control when a flow takes a specific decision.
Required Editions
| Available in: Lightning Experience in Enterprise, Unlimited, and Developer Editions |
| User Permissions Needed | |
|---|---|
| To create and delete Data Capture flows and prime subflows for offline work: | Manage Flows |
To build a form with Data Capture, use the Data Capture flow in Flow Builder.
Note
Data Capture relies on Briefcase Builder to prime records for offline use. Records that aren't primed by default, such as custom objects, must be added to the Briefcase Builder. See Briefcase Builder.
- In Setup, find and select Flows.
- Click New Flow.
- Find and select Data Capture Flow.
-
In Flow Builder, add a screen to your flow.
-
Click the
 icon and select Screen.
-
In Screen Properties, enter a label and API name. The label is visible to mobile
workers.
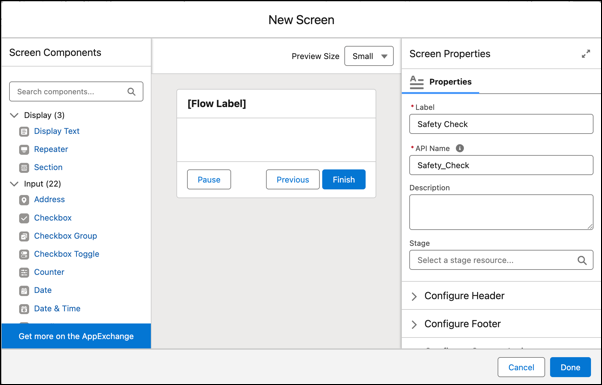
- From Screen Components, click a component to add it to the form and define its properties. For example, add the Date component to let mobile workers input a date. See Data Capture Flow Screen Components.
-
Continue adding components and defining their properties.
We recommend dividing long screens into multiple screens to improve usability and performance.
- Once you’ve completed the screen, click Done.
-
Click the
- Click the + icon and add interaction, logic, and data elements to the flow as required. See Build a Flow.
-
Save the flow.
- Click Save.
- Define a label and API name for the flow and save your changes.
- Activate the flow.
Did this article solve your issue?
Let us know so we can improve!