You are here:
Verify Applications
When you verify an application, you check for overall completeness, looking at the data and documents provided by the applicant. You’ll probably look at transcripts, letters of recommendation, and more. Use an Applications list view as your starting point, then open individual application records. You can use the default All list view, one created by your admissions team, or one that you created. as your starting point, then open individual application records. You can use the default All list view, one created by your admissions team, or one that you created.
See Work with a List View for Rapid Reviews, Queue Pickup, and More.
- View and Update the Application Status
At the top of the page, you can see the status of an application in the review process. - Assess the Overall Progress
The Application Checklist area includes a progress bar with the overall completion of the requirements. You can refresh the progress bar and lists at any time. - Accept, Reject, or Update a Requirement
In the Application Checklist, requirements are grouped in two lists: Incomplete Application Checklist Items and Completed Application Checklist Items. - Take Actions on the Application—Send an Email or Add a Note
Your Admissions Connect administrator configures the actions you can take on the application. You might be able to email the applicant or add a note. - Log Verification Comments
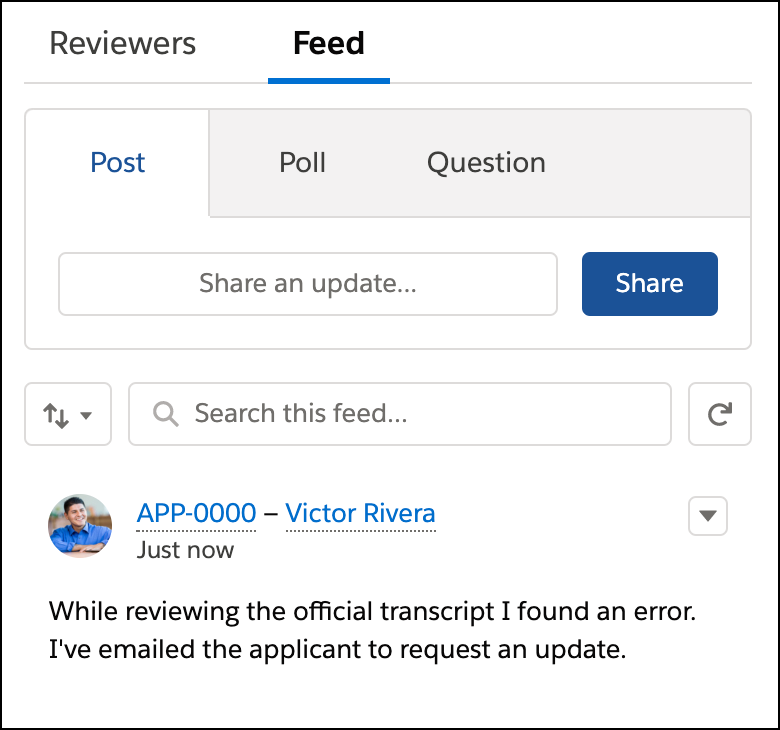
From the Feed you can leave comments about the application and its requirements.
View and Update the Application Status
At the top of the page, you can see the status of an application in the review process.
To update the status, click the new status, then click Mark as Current Application Review Status. You can even review guidance from your team using the caret button to the left of the path.

Assess the Overall Progress
The Application Checklist area includes a progress bar with the overall completion of the requirements. You can refresh the progress bar and lists at any time.

Accept, Reject, or Update a Requirement
In the Application Checklist, requirements are grouped in two lists: Incomplete Application Checklist Items and Completed Application Checklist Items.
The way you verify documents and data are different, and the names of items in the list don't always indicate if they're documents or data. After you click on a checklist item, it'll be clear whether you're verifying a document, such as a transcript, or data, such as the applicant's birth date and address.
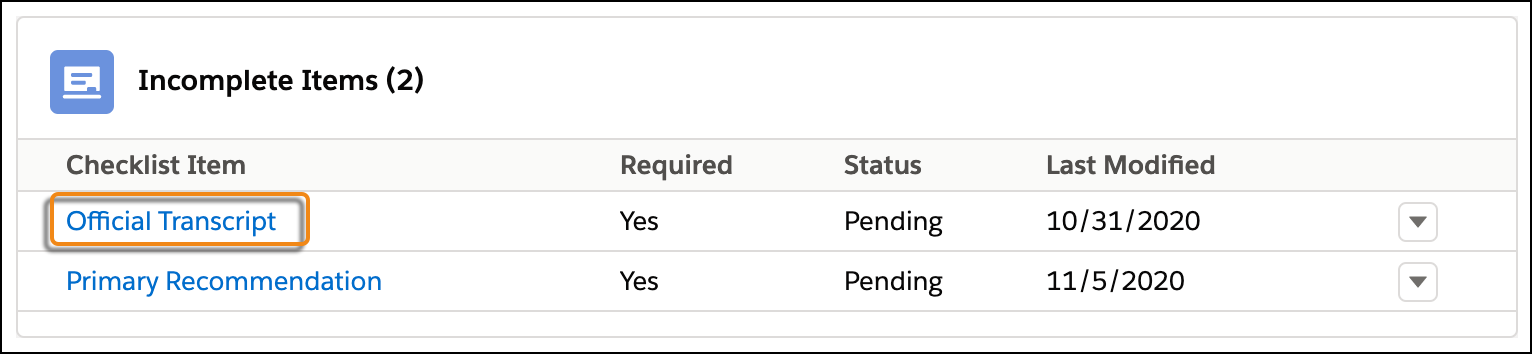
For Documents
-
Click the name of a checklist item from the Incomplete Items list to open the document in a preview window.
-
Review the document and then click Reject or Accept.
Clicking Accept or Reject updates the Status field for the document's Document Checklist Item record, which stores the attachment.
-
If you reject the document, select a reason and leave any comments, such as how the applicant can submit a new document. Then click Reject.
-
Close the preview window.
If you click a document that's already accepted or rejected, you won't see the Accept and Reject buttons. Instead, you see a View Record button. Click this button to update the document's status directly from the Document Checklist Item record.
For Data
-
Click the name of a checklist item from the Incomplete Items list. The data opens in a preview window.
-
After reviewing the data in the preview, close the preview window.
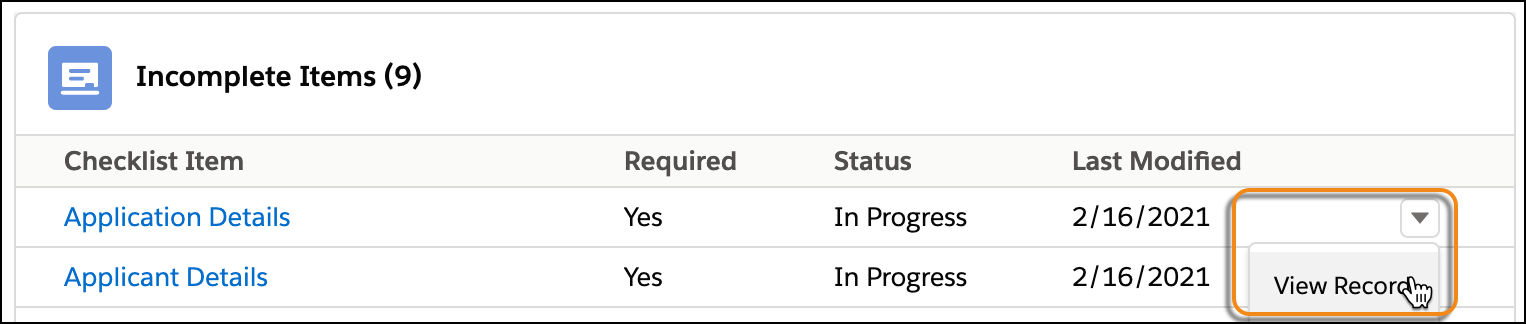
-
Click the row-level action menu for the item and select View Record.
-
In the Task record that opens for the data, update the Status field using one of these methods.
-
Click Mark Complete.
-
In the top-right of the page, click the action menu, then select Change Status or Edit.
-
In the Details tab, click the pencil icon next to the Status field and select a status.
-
-
Save your changes.
A requirement moves from the incomplete list to the complete list of the Application Checklist when:
-
For documents, the Status field on the Document Checklist Item record is Accepted.
-
For data, the Status field on the Task record is Completed.