
You are here:
Upload Data from the Template
Learn how to upload data from a spreadsheet to the NPSP Data Importer.
Now, let's use the Data Import Wizard to upload the template into the NPSP Data Import custom object.

- Click the App Launcher (
 ).
). - In the All Items section, click NPSP Data Imports.
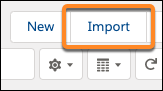
- Click Import.
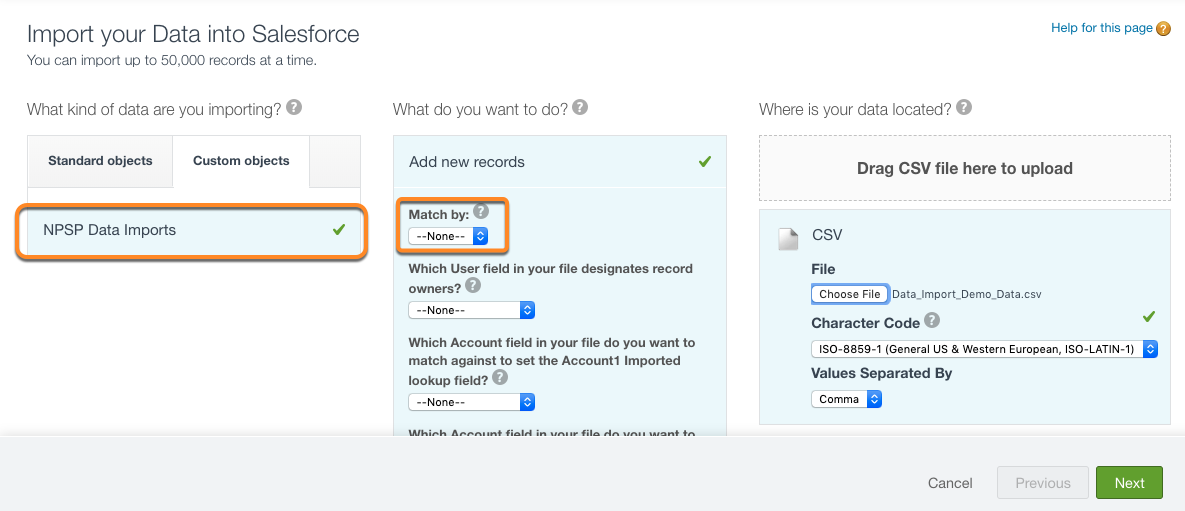
- In the "What kind of data are you importing?" section, make sure the Custom objects tab is selected, and then click NPSP Data Imports.
- In the "What do you want to do?" section, select Add new records.
- If you're importing your data for the first time, or know that you will be matching to existing data based only on Name, Email or Phone, then leave all the options in this section set to --None-- (unless you are mapping one of the ID fields). Be sure to leave Match by as --None-- regardless.
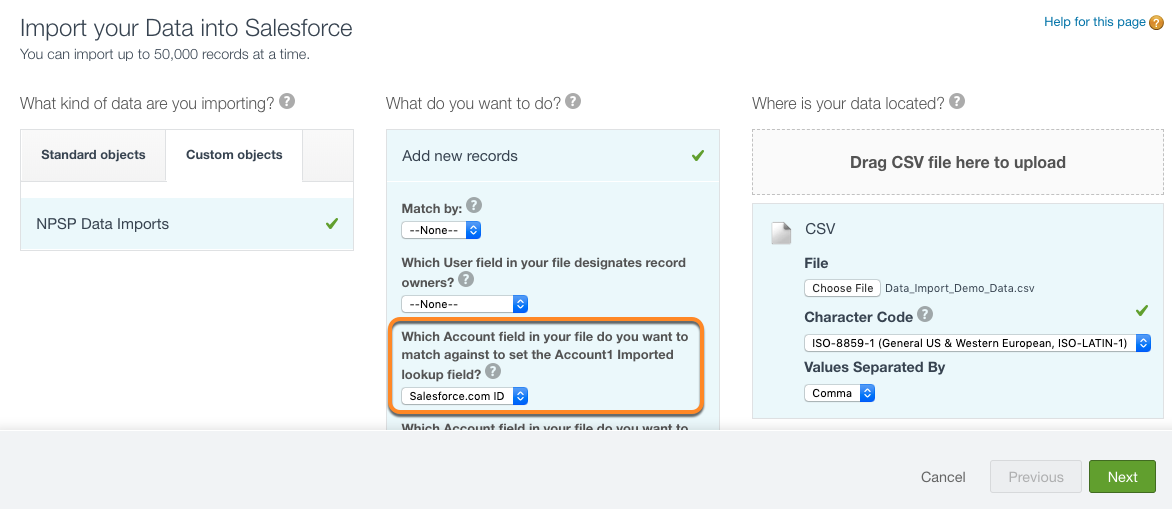
- If your spreadsheet has Salesforce IDs for GAU Allocations or you'd like the NPSP Data
Importer to match against existing Contact, Account, Donation or Payment records later in the process, select the appropriate value from the What do you want to do? section in the Import Wizard. Be sure to leave Match by set to --None--. Note that you'll need to populate the corresponding Imported field (e.g. Contact1 Imported, Contact2 Imported, Account1 Imported, Account2 Imported, Household Account Imported) with the 15- or 18-character Salesforce ID in the template file you're importing. For example, we populated the Contact1 Imported field (in the template) with Contact1's Salesforce ID. So, under Which Contact field in your file do you want to match against to set the Contact1 Imported Lookup field?, we select Salesforce.com ID.
- If you're importing your data for the first time, or know that you will be matching to existing data based only on Name, Email or Phone, then leave all the options in this section set to --None-- (unless you are mapping one of the ID fields). Be sure to leave Match by as --None-- regardless.
- In the Where is your data located? section, either drag your completed template file to the drop zone or browse for the file to upload it.
- Click Next.
- Verify that the field mappings are correct and make any changes if necessary. Because you're using the template, the column headers should exactly match the field names or field labels in the NPSP Data
Import object you're uploading to. If one of your fields is unexpectedly unmapped or isn't available for mapping, look for these common issues:
-
If you're matching by ID and the Imported field is unmapped, you likely selected the wrong field or value in the What do you want to do? section of the Data Import Wizard.
-
The Salesforce Data Import Wizard automatically maps your columns to fields when the column name matches the field name. If your column header doesn't match and the field is unmapped, you can manually map template fields to object fields right here in the wizard.
-
You must have Advanced Mapping enabled to map to some fields in NPSP. For more information, see Configure NPSP Data Importer.
-
- Click Next.
- Review the import summary.
- Click Start Import. Your import starts and displays a confirmation message that lets you click through to the Bulk Data Load Jobs page, where you can monitor the status of the data upload.
The first part of the import process is done! You're ready to Verify Data Upload.
