You are here:
Create a Kanban View
A Kanban list view is a helpful visual summary of records. It's a great way to visualize items in progress and allows you to monitor work more effectively. Update a record's status by dragging and dropping records from one column to another.
Aileen at the Six Sides Fund notices their current list of active Funding Requests is a bit disorganized in the standard list view. She asks Michon if there is a more organized way to view all active Funding Requests, so Michon creates a Kanban list view.
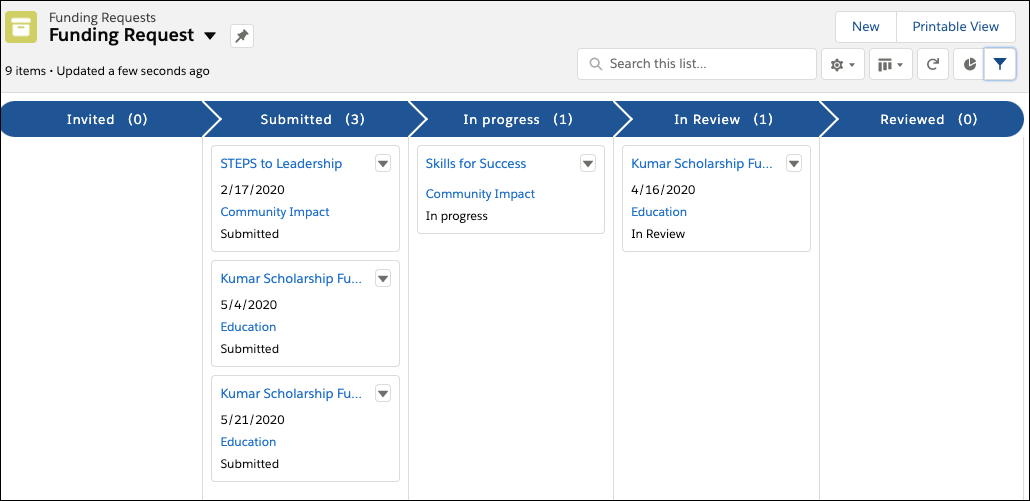
Now, the Six Sides Fund has a Kanban view of all active Funding Requests sorted by status. Aileen sees there are a few in the Submitted column that need attention. When she starts to review one, she easily moves the Funding Request from the Submitted column to the In Review column. This immediately changes the Funding Request's status.
-
From the App Launcher, find and select Funding Requests.
-
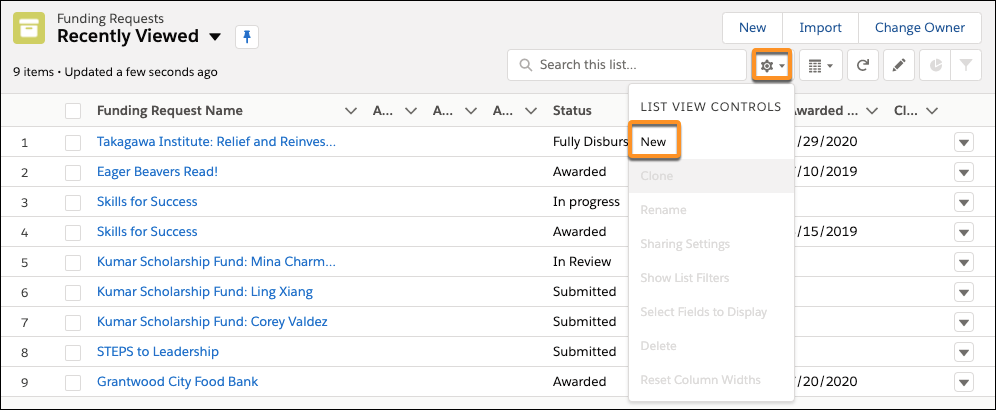
Click Settings (
 ), then select New.
-
Enter a List Name. For example, Active Funding Requests.
-
Press tab to autofill the List API Name.
-
Select who sees the list view. For example, select All users can see this list view to allow everyone to see it.
-
Click Add Filter to narrow the list of records. For example, select Status as the Field, Equals as the Operator, and select all active status values.
-
Click Done, then Save.
-
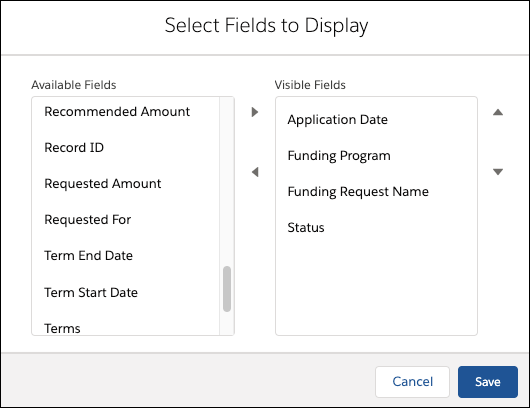
Click Settings, then select Select Fields to Display.
-
Select the fields to display in the Kanban view. Reorder as needed.
-
Click Save.
-
Click the table icon and select Kanban to change the view from a table to a Kanban board.

-
Click Settings, then select Kanban Settings.
-
Two display options appear. In this example, Michon wants the Kanban view to show records by status, so he selects Status from Group By and leaves Summarize By to the default value of None.
-
Click Save.