You are here:
PMM Create Programs
Create a program, add clients to programs, and mark a program complete when it ends.
- Work With Programs
Programs track your organization's overall work. - Create a Program
Create a program to track and manage your organization's mission. - Add Clients to Programs
Add clients to Programs from either the Contacts or Programs tabs. - End a Program
When a Program ends, be sure to mark it as completed.
Work With Programs
Programs track your organization's overall work.
At an advocacy organization, Programs could include local school fundraising and community events. At a human services organization, Programs could include housing assistance and a food pantry.
Create a Program
Create a program to track and manage your organization's mission.
-
Click the Programs tab.
-
Click New.
-
Give the Program a name.
-
Select a Status.
-
Optionally:
-
Enter a summary, which will appear in Program list views and reports.
-
Enter details about the Target Population that the Program is intended to help.
-
Enter a detailed description that provides more context about the Program’s goals.
-
Enter start and end dates for the Program.
-
Select a Program Issue Area, which is a description of the issue addressed by the Program, like Housing or Employment. Admins can configure additional Program Issue Areas.
-
-
Click Save.
Add Clients to Programs
Add clients to Programs from either the Contacts or Programs tabs.
Add Clients to Programs from the Contacts Tab
-
Click the Contacts tab.
-
Click the client's name.
-
Click Add Contact to Program.
-
Search for and select the Program.
-
For the Role, select Client.
-
For the Stage, select Enrolled.
-
Select a Program Cohort, if applicable.
-
Set the Start Date when this Client will begin the Program. If left blank, the Start Date defaults to today.
-
Click Save.
Mass Add Clients to Programs from the Contacts Tab
If enabled, you can mass create Program Engagements for a single Program using the Add to Program button on Contacts list views. For details, seeEnable Mass Creation of Program Engagements .
-
Click the Contacts tab.
-
Select the box next to each name you want to add to a Program.
-
Click Add Contact to Program.
-
Search for and select the Program.
-
For the Role, select Client.
-
For the Stage, select Enrolled.
-
Select a Program Cohort, if applicable.
-
Set the Start Date when this Client will begin the Program. If left blank, the Start Date defaults to today.
-
Click Save.
Add Clients to Programs from the Programs Tab
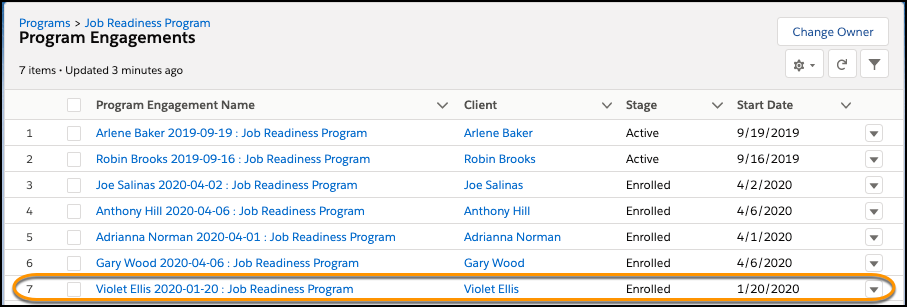
Back on the Program page, scroll down to the Program Engagements related list and click View All. You'll see the Program Engagement you just created.
-
Click the Programs tab.
-
Click the name of a program.
-
Click Add Contact to Program.
-
Search for and select a client. You may need to create a new Contact if you can't find the client.
-
From Role, select Client.
-
Select a Stage.
-
Select a Program Cohort, if applicable.
-
Set the Start Date for the client in the Program. If left blank, the Start Date defaults to today.
-
Click Save.