
You are here:
Create and Edit Notes (Support Staff)
Learn how to access, create, and format notes related to a student Case in Student Success Hub.
- Access Your Notes
At different points in your workflow, you'll want to jot down a Note about a student. There are many ways to create Notes, which we'll get to in a moment. First, let's get familiar with where you can find your Notes in Student Success Hub. - Write a Note Related to a Student
To write a Note related to a student, save time by starting the Note from the student record. - Format Your Notes
Notes support rich text formatting, so you can emphasize important details with bold or italic text. You can include bulleted lists and numbered lists, and even inline images. - Edit Your Notes
Only you or a Student Success Hub administrator can edit a Note that you created. Click into any Notes view and edit the Note text and details as needed. Remember to save your changes if they're not automatically saved. - Delete a Note
Only you or a Student Success Hub administrator can delete a Note that you created.
Access Your Notes
At different points in your workflow, you'll want to jot down a Note about a student. There are many ways to create Notes, which we'll get to in a moment. First, let's get familiar with where you can find your Notes in Student Success Hub.
-
Click the app navigation menu and select Notes.
-
Or, click Notes in the utility bar in the footer and then click the pop-out icon to open Notes in a browser window over the app. You can resize the window as desired, and close it when you're done.
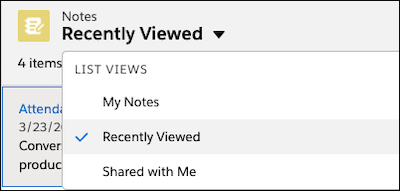
In the Notes tab or in the pop-out Notes window, use the list view menu to select a list of all of your Notes, or a subset.
-
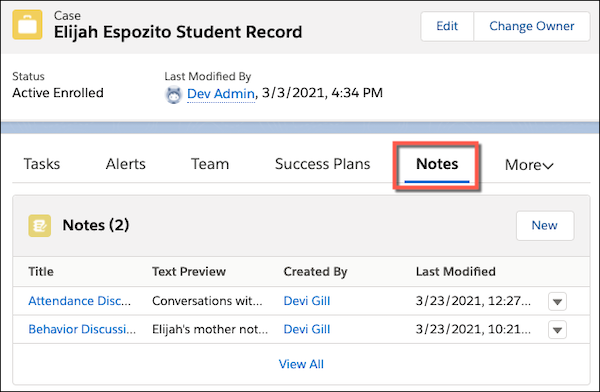
Finally, on a student record, go to the Notes tab to see a compact list view of your most recent Notes about the student. At the bottom of the Notes related list, click View All to open the list in its own subtab and see more details.
Write a Note Related to a Student
To write a Note related to a student, save time by starting the Note from the student record.
-
On a student record page, on the Notes tab, click New.
In a higher ed Student Success Hub org, you can also click New Note in the Case highlights panel.
-
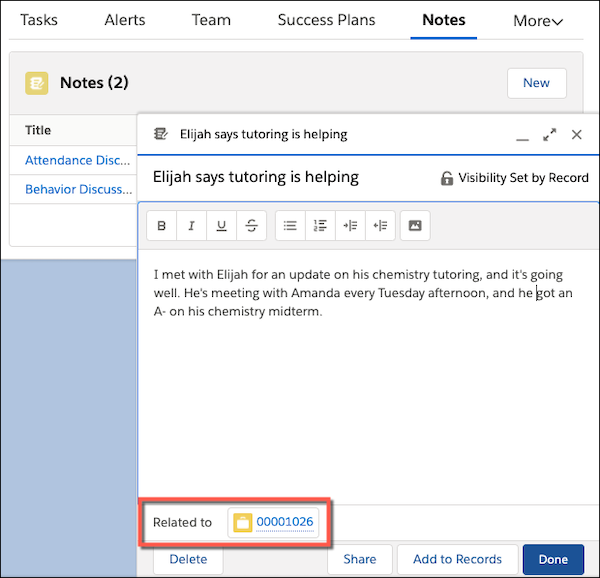
Write your note.
The Note is automatically related to the student record Case.
- Update other details and visibility settings as needed.
- When you're finished, click Done to save the Note.
You can also create a Note from the Notes list view or by opening Notes from the utility bar: Just click New. If you create a Note in either of these ways, you'll need to manually relate the Note to the student record. Make sure that you relate the Note to the student record Case, and not the student Contact record. As long as the Note isn't marked as private, relating the Note to the student record Case makes it visible to other Users who have access to the Case.
Format Your Notes
Notes support rich text formatting, so you can emphasize important details with bold or italic text. You can include bulleted lists and numbered lists, and even inline images.
Edit Your Notes
Only you or a Student Success Hub administrator can edit a Note that you created. Click into any Notes view and edit the Note text and details as needed. Remember to save your changes if they're not automatically saved.
If you've shared a Note with other Users, they can view the Note but they can't edit it.
