
You are here:
Manage Notes (Support Staff)
Learn how to control the visibility of support notes, work with shared notes, and more in Student Success Hub.
- Control the Visibility of Your Notes
We talk a lot about context when it comes to Notes: Who or what is the Note related to? Whether it's a student Case, a Success Plan, an Alert—or not related to any record at all—the relationship determines who can see the Note. It's important to understand the visibility settings and how to restrict or expand visibility. - Share a Note with Another User
You can share a Note with any User (but not with a Contact). Sharing gives the User access to view the Note only, not access to view any of the records related to the Note unless the User otherwise has access to the related record. If the Note is related to a student record, the User you share the Note with can be, but doesn't have to be, a member of the student's success team. - Access Notes Shared with You
If someone shares a Note with you, you receive an email notification. Follow the link in the email to view the Note. Or, go to a Notes list view and select the Shared with Me list view. - Manually Relate a Note to a Record
Sometimes a Note contains information about other people or activities in Student Success Hub. You can relate the Note to other records so that it's visible to the people who need to see it. For example, a Note about student Elijah mentions his tutor, Amanda. Let's relate the Note to Amanda's record in Student Success Hub. - Revert to an Earlier Version of a Note
From the Notes page you can see earlier versions of a Note, and revert to one of the earlier versions if you need to.
Control the Visibility of Your Notes
We talk a lot about context when it comes to Notes: Who or what is the Note related to? Whether it's a student Case, a Success Plan, an Alert—or not related to any record at all—the relationship determines who can see the Note. It's important to understand the visibility settings and how to restrict or expand visibility.
A Note's visibility is clearly marked.
- Visibility Set by Record
- Visibility Set by Record means that anyone who has access to view the record that the Note is related to can view the Note, too. For example, a Note related to a student record Case is visible to any User who has access to view the Case. Notes can be related to multiple records.
- Private
- Private means the Note is just for your own files and can't be viewed by other support staff unless you selectively share it with people who need to know.
There's one exception: Your Student Success Hub administrator has full access to all Notes, including private Notes.
In higher ed Student Success Hub orgs, students can't see Notes in the portals, either.
To make a Note private, create it without any relationship to another record. Or, restrict the Note's visibility when you relate it to other records. On the Note, click Add to Records, search for and select the record you want to relate the Note to, and select Prevent note from being viewed by other users with access to this record.
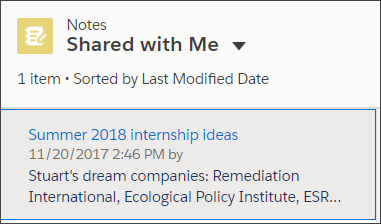
Access Notes Shared with You
If someone shares a Note with you, you receive an email notification. Follow the link in the email to view the Note. Or, go to a Notes list view and select the Shared with Me list view.
-
To share a Note that's been shared with you, click Share on the Note.
-
In the Share Note window, expand the Who Can Access section.
-
If the User you want to share with isn't in the list of those who have Viewer access, add them in the Share With field.
-
Click Share.
If the User who originally shared with you prevented further sharing, you see an error.
Manually Relate a Note to a Record
Sometimes a Note contains information about other people or activities in Student Success Hub. You can relate the Note to other records so that it's visible to the people who need to see it. For example, a Note about student Elijah mentions his tutor, Amanda. Let's relate the Note to Amanda's record in Student Success Hub.
-
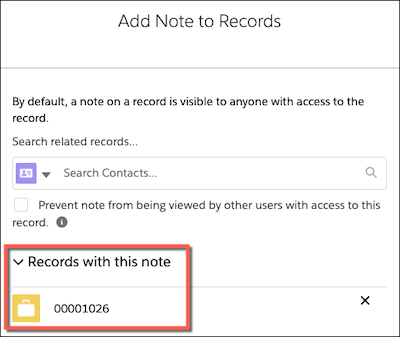
Open the Note, and then click Add to Records.
In this example, the Note is already related to Elijah's student record 00001026.
-
Click the selector in the search field and select the type of record that you're relating the Note to. In this example, we choose Contact because a Chemistry tutor would be represented by a Contact record.

-
Search for and select the appropriate record. In this example, we specify Elijah's tutor, Amanda.

-
To relate the Note to additional records, click in the search field next to Amanda's name. Then, search for another Contact record, or select and search for a different type of record.
-
Click Add.
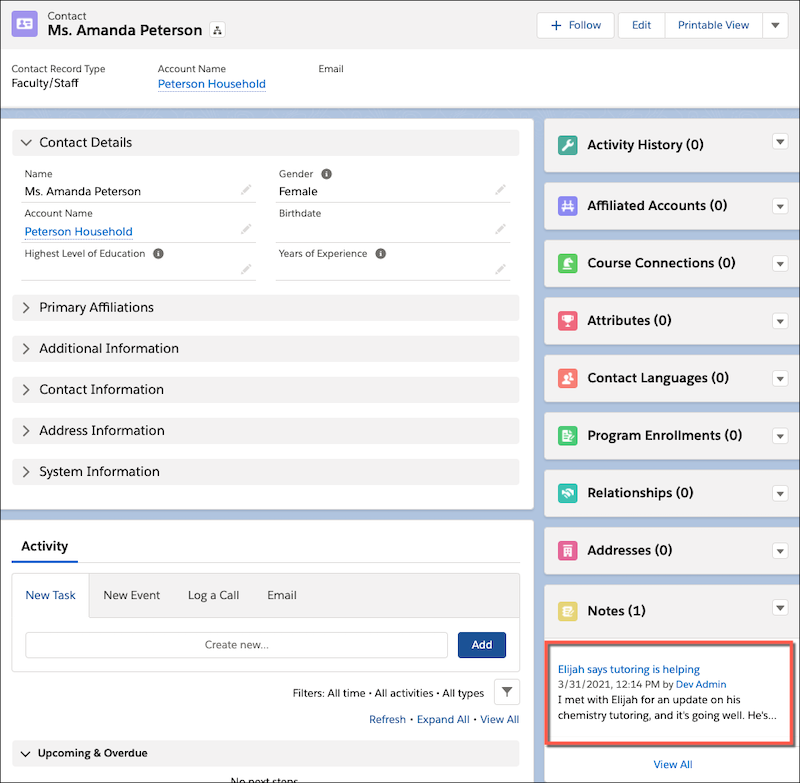
On Amanda's Contact record, you'll see the Note in the Notes related list—just as you'd expect.
Revert to an Earlier Version of a Note
From the Notes page you can see earlier versions of a Note, and revert to one of the earlier versions if you need to.
-
Click the app navigation menu arrow and select Notes.
-
Select a Note from the list view.
- To see revisions to the Note, click View Version History.
-
To revert to a previous version of the Note, click Restore. Otherwise, click Back.
Even after reverting, you don't lose the history of previous versions. They all remain available from the View Version History menu.