
Create a Mobile Publisher Project
Create a Mobile Publisher project for an Experience Cloud app.
Required Editions
| Setup for Mobile Publisher available in: Lightning Experience |
| Setup for Mobile Publisher available in: production only (not sandbox) |
| Available in Lightning Experience in: Enterprise, Performance, and Unlimited Editions |
| User Permissions Needed | |
|---|---|
| To create and modify a Mobile Publisher project: | Manage mySalesforce Apps |
| To create and modify a site: | Create and Set Up Experiences |
Note Your organization must license Salesforce Mobile Publisher in order to use the
feature. Contact your Salesforce sales rep for more information.
Important
New Mobile Publisher for Experience Cloud apps created after the Summer '25 release use the new External Client Apps framework in place of the legacy Connected Apps framework. Mobile Publisher for Experience Cloud apps created before the Summer '25 release still use Connected Apps.
This page contains references to External Client Apps, Connected Apps, or both. Make sure you follow the guidance appropriate for your app.
-
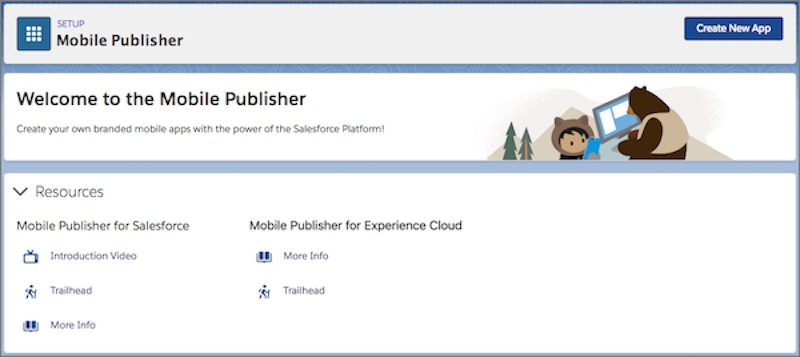
From Setup, enter Mobile Publisher in the Quick Find box, then
select Mobile Publisher.
-
Click Create New App.
The first time you access Mobile Publisher, the landing page is displayed. Subsequently, you're taken directly to the Setup page.
-
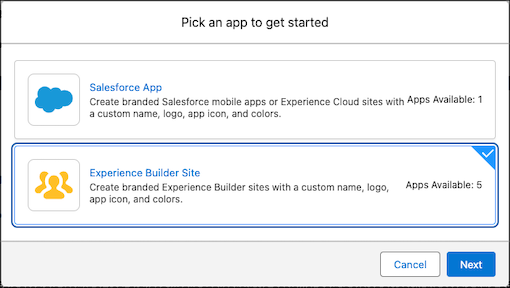
Choose Experience Builder Site and click
Next.
-
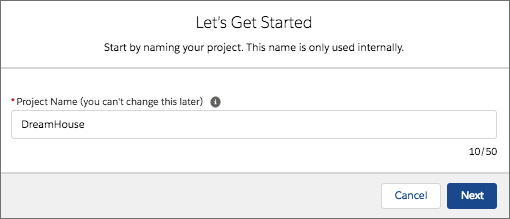
Enter a name for the Mobile Publisher project. You can’t edit the project name after
you set it. (This name is for internal reference only; the name doesn’t display publicly
in Google Play or the App Store.) Click Next.
-
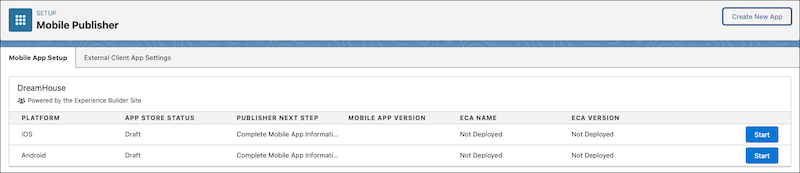
In the Setup page, click Start for the type of app you want to
create (for example, iOS).
-
In the Set Up the Mobile App section, click Start.
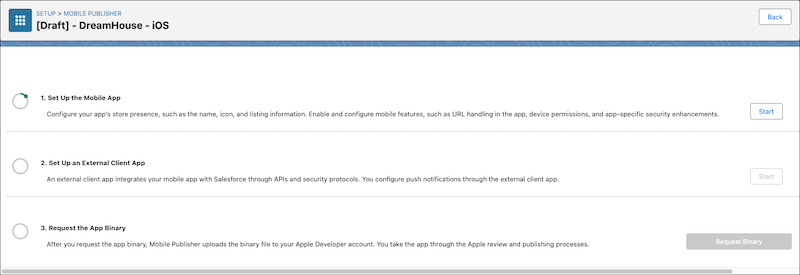
 Note The setup process for new Mobile Publisher for Experience Cloud apps made with the External Client Apps framework is divided into three sections: Set Up the Mobile App, Set Up an External Client App, and Request the App Binary. If you select the Binary upload or Fully Managed distribution methods when creating your app, you also see a fourth section, Submit the App.
 -
In the resulting page, make note of the automatically generated Store Identifier. For
iOS apps, this identifier is used to register your Salesforce bundle ID with your Apple
developer account. For Android apps, this identifier is used as your Google Application
ID.

- Complete the required information and click Submit. For more information about the app distribution choices, see Set Up Distribution.
- In the Set Up an External Client App section, click Start. Complete the required information and deploy the external client app.
-
In the Request the App Binary section (which might be called Request the
Binary and Submit the App, if you chose the Binary upload distribution type),
click Request Binary.
The submission goes to the Mobile Publisher team for review.
- If you want to create an app for the other type of platform (for example, Android), repeat steps 6 -11.
- Build your Mobile Publisher for Experience Cloud app.
Did this article solve your issue?
Let us know so we can improve!