
You are here:
Offer Live Customer Support with Chat and Messaging
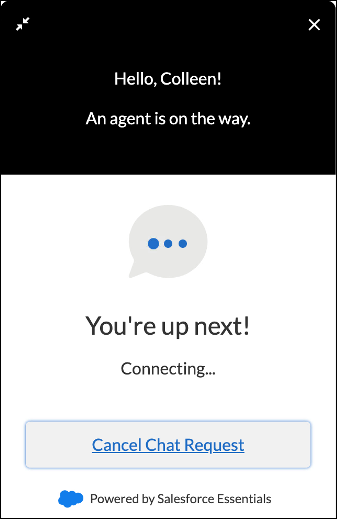
Offer your customers instant conversation with web chat and Facebook Messenger for Essentials. Chats and messages are delivered to team members alongside their other work in Salesforce, so they can handle cases, chats, messages, and everything else side by side.
Required Editions
| Essentials is available in: Lightning Experience |
| Available in: Essentials, Enterprise, Performance, Unlimited, and Developer Editions |
Web Chat
Embed web chat into your website or help center with the option to let customers log a case when your team’s away. You can display the chat button for customers in your website and help center.
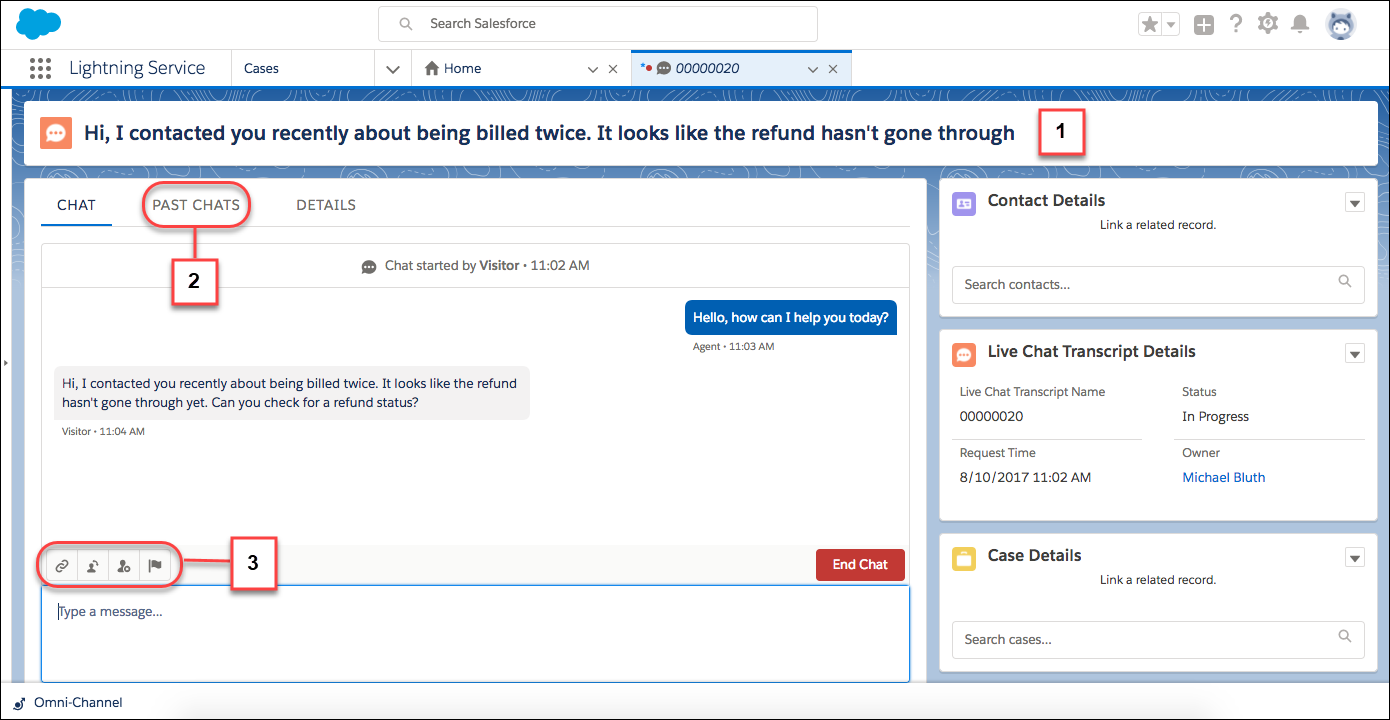
Your team can accept chats in the Service Console. The first 100 characters of the customer's message appear in the chat header, so you can easily differentiate between all your in-progress chats (1). The Past Chats tab lets you quickly refer to previous chats with the customer (2).The handy toolbar gives you what you need to provide speedy service (3).
Facebook Messenger for Essentials
Facebook Messenger for Essentials connects your business’s Facebook page to Salesforce, so messages to your page don’t go unseen. Make sure that you have a business page ready to go before setting up Messaging.
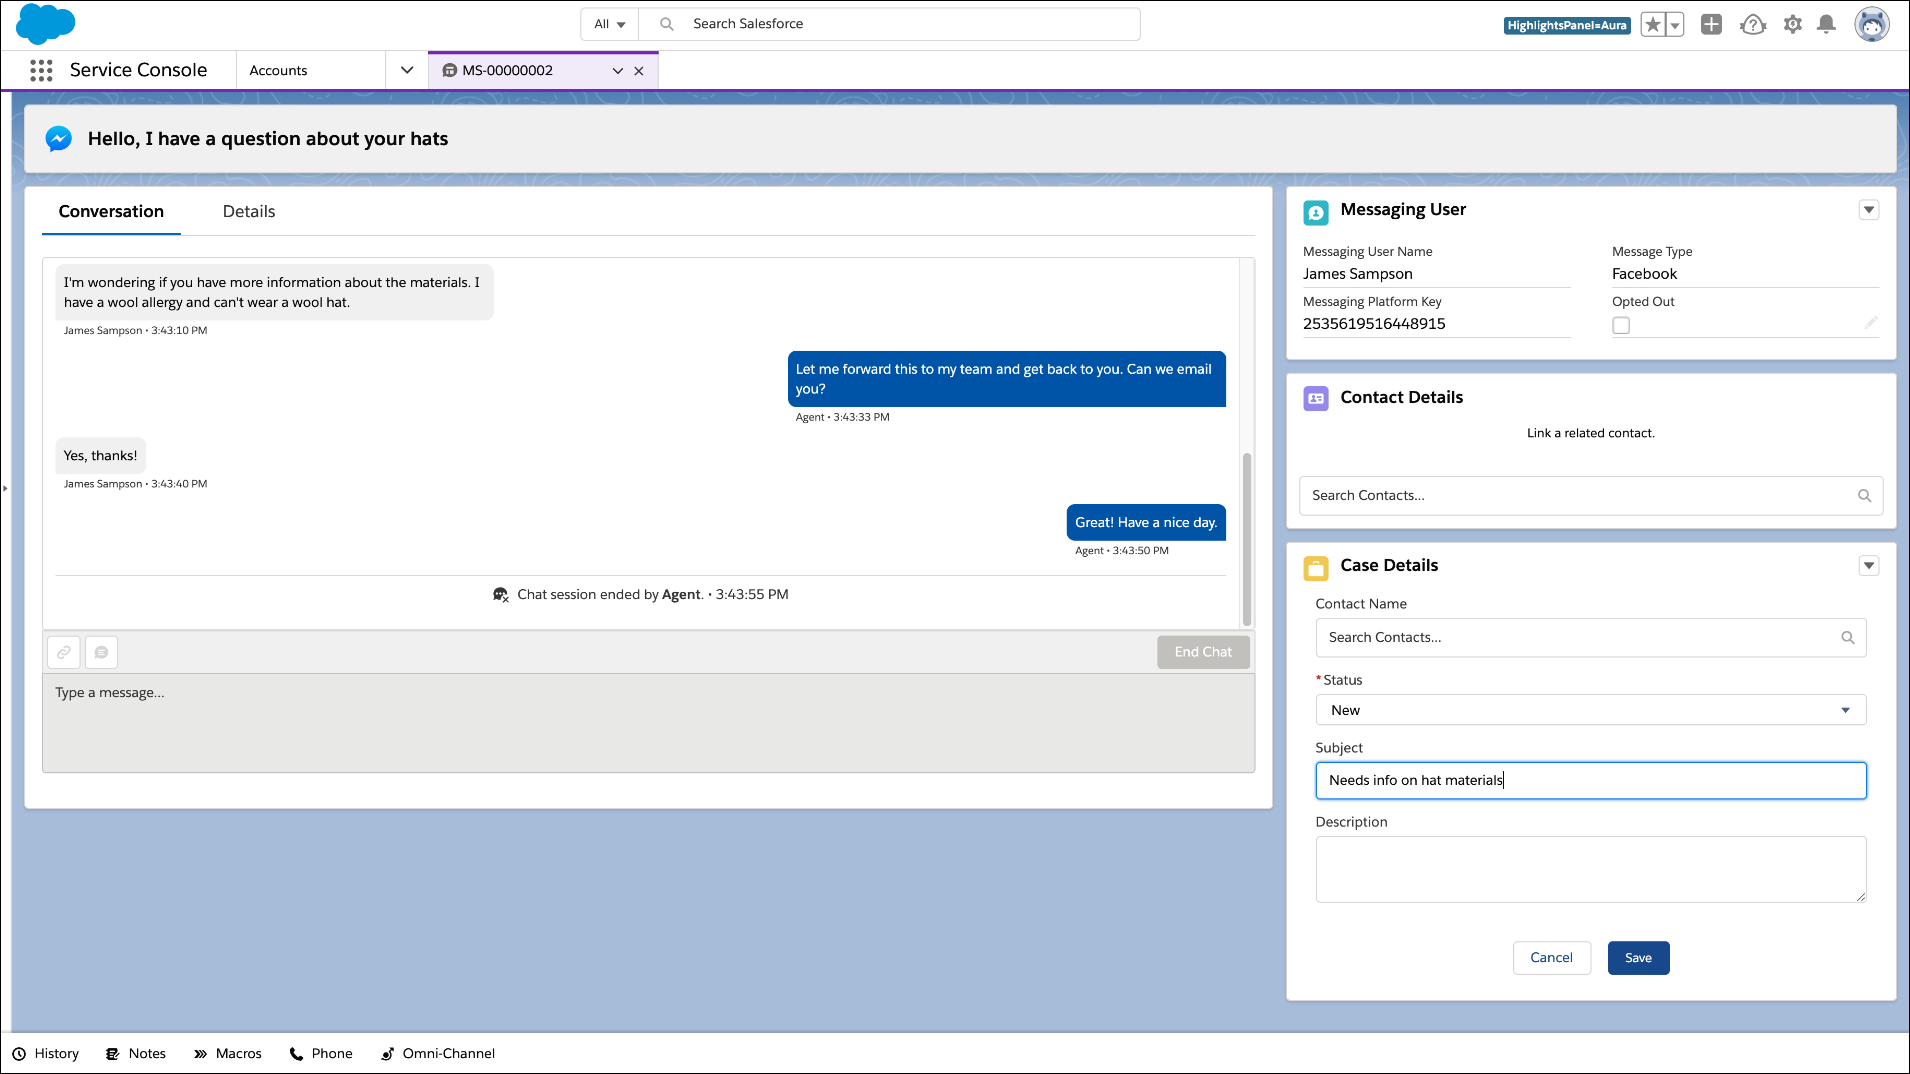
You can respond to messages in the same place as your chats: right in the Service console. Your chats, messages, cases, and everything else open in tabs so you can take on multiple conversations at a time. Easily create related records so you don't lose important information, and your customers always get what they need.
How to Get Started
Essentials comes with 1 license of Web Chat and 1 license of Facebook Messenger for Essentials, so you can start right away. When you're ready, you can purchase more licenses for your team from the Manage Subscription page.
Want to see it in action? Our 1-mnute feature
tour will show you how it all works. Watch the tour:  Talk to Customers in Real Time with Chat and
Messaging
(1 minute)
Talk to Customers in Real Time with Chat and
Messaging
(1 minute)
The Chat and Messaging setup pages are where you can dive in using simple guided setup flows. If you’re adding your team, the users you select during each flow can immediately start receiving chat and message requests. All they have to do is use the App Launcher to switch to the Service Console app, open Omni-Channel from the utility bar, and change their status to Available - Chat or Available - Messaging.
To add web chat to your website, paste the provided code snippet into your website before the
closing body tag (</body>) on the pages where you want the
chat button to be displayed.
To add web chat to your help center, drag the Embedded Service Chat component into your help
center using the Experience Builder. Then open the security settings in the Experience Builder
and add your chat endpoint URL as a trusted site. The chat endpoint is in your embedded chat
code snippet as the baseLiveAgentContentURL. (If you
lost your code snippet, you can find it in Setup | Embedded Service.)