
You are here:
Pre-Import Checklist
Before you import your data, run through this checklist to make sure that you’re well prepared. We guide you through getting an overview of the import process, fixing up what’s already in Salesforce, and preparing your spreadsheet for a smooth import.
Salesforce comes to life when you import your data. Fix up what’s in Salesforce and tidy your spreadsheets to facilitate this process.
See How It Works
| Action | Details |
|---|---|
| Watch setup videos | Our data import series has a lot of useful information to help you get started. For tips and tricks for how to create a clean import file, start with Clean Your Import File and Best Practices for Importing Data. |
| Take a hands-on workshop | Learn how to clean and import your data into Salesforce with our live and on-demand hands-on workshop. Follow the data import process from the beginning for a smooth data import journey. |
Fix What’s Already in Salesforce
| Action | Details |
|---|---|
| Fix incomplete information in Salesforce | If you already have some information in Salesforce, make sure that it’s all filled in. Complete and accurate records help us prevent duplicates and errors when you import more information. For every Salesforce record, include first and last names, email addresses, phone numbers, company names, job titles, and whatever else you use to distinguish your contacts, deals, and accounts. |
| Check for required fields | Required fields are in place to make sure that your data is organized correctly. To avoid errors, verify that they’re included in your spreadsheet. The following fields are required for accounts, contacts, and leads:
The required field names are listed in red during the import process, but you can look at what’s required before you start. For example, create an opportunity and see which fields are marked as required. You can also click Save before entering any information to highlight the required fields. |
| Customize fields | Create the custom fields you need in Salesforce before importing data. When you include the names of your custom fields in your spreadsheet, your information has somewhere to go in Salesforce. To create custom fields, go to . |
Get Your Spreadsheet in Tip-Top Shape
When you clean up your spreadsheet, your import goes much more smoothly because every bit of information has its place in Salesforce.
| Action | Details |
|---|---|
| Keep accounts and contacts in the same place | Save time and import contacts and accounts together by including both in your .csv file. If you prefer, you can import them separately using dataloader.io instead of the Data Import Wizard in Salesforce. |
| Delete any duplicates | Make sure that your file doesn’t contain duplicate entries. You can have multiple contacts for one account, but avoid entering the same contact twice or importing the same person as both a contact and a lead. |
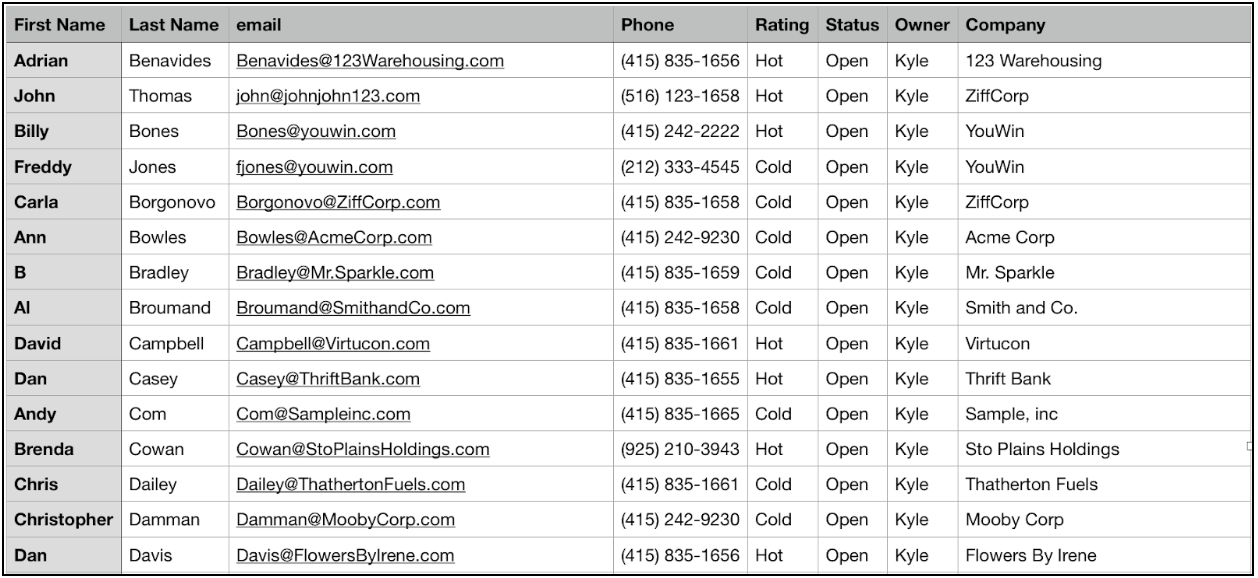
| Format properly | Clearly separate fields in your spreadsheet. For example, if you include addresses, make sure that there are separate columns for street, city, state, and zip. |
| Include email addresses with names | You have two options to match your data: either by name or by email. Emails are more unique than names, so it’s best practice to keep your contacts and accounts matched by email. |
| Edit the record owners | When you import new data, include an Owner Full Name column to keep items assigned properly. If you don’t include owners, you’re made the owner of everything that’s created during the import. When you update existing data, use record owner IDs to link your records to an owner in Salesforce. |
| Triple-check the spelling | You can edit the spelling after your data is imported, but it’s difficult to find what you’re looking for if a name or company is misspelled. You can also end up with duplicates if you have two different spellings of the same name. |
After you clean up your data in Salesforce and in your spreadsheet, you’re ready to start your import. Export your spreadsheet as a .csv file, then start the data import process in Salesforce.