You are here:
Migrating to Pro Suite
Before you can use Pro Suite, you must consent to the upgrade, turn on Pro Suite settings, and enable Marketing and Commerce.
Required Editions
| Available in: Lightning Experience |
| Available in: Pro Suite Edition |
| User Permissions Needed | |
|---|---|
| To consent to Pro Suite upgrade, turn on Pro Suite settings and Marketing, and enable permissions: | SysAdmin user profile |
Consent to Upgrade
Follow these steps to consent to the Pro Suite upgrade.
-
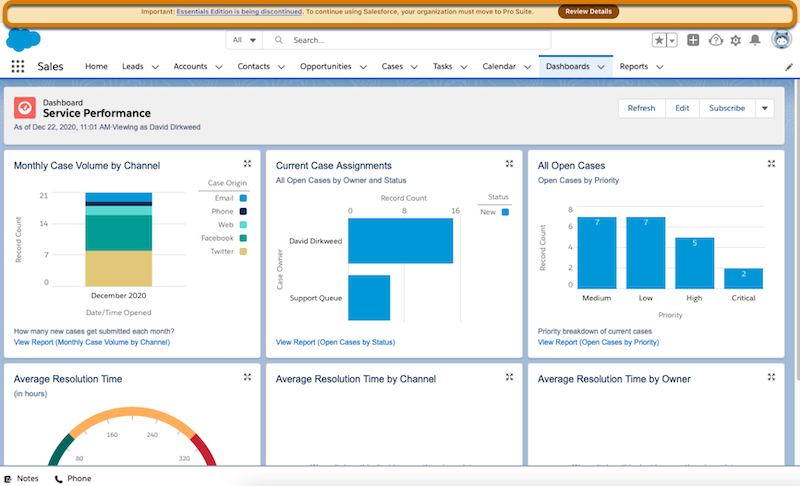
From the home page, select Review Details on the upgrade
notification banner at the top of screen.
-
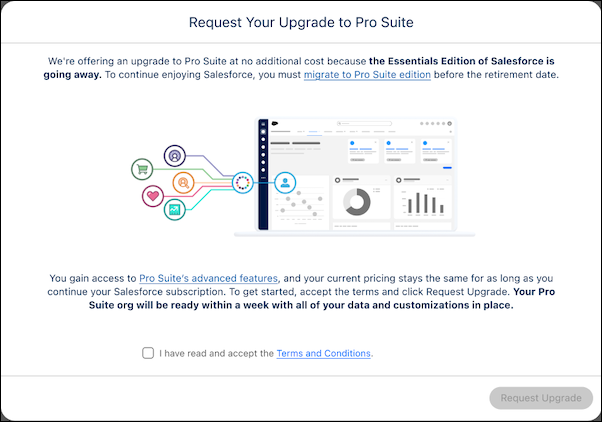
From the Request Your Upgrade to Pro Suite window, read and accept the terms and
conditions, then click Request Upgrade.
-
Select Got It to acknowledge the upgrade timeline.
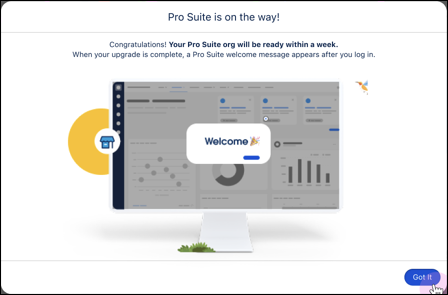
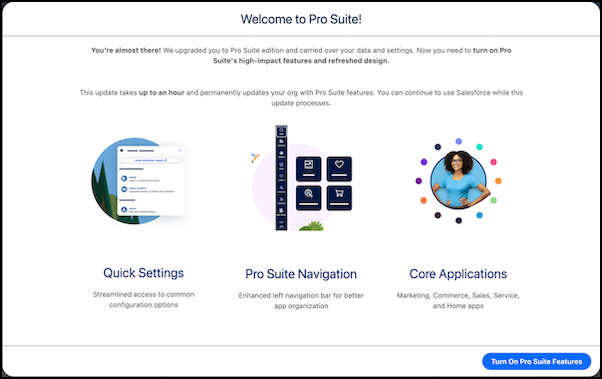
We will migrate your Essentials org to Pro Suite in about a week’s time. You can continue working in your Essentials org in the meantime. The first time an admin logs into your newly upgraded Pro Suite org, they'll see a Welcome to Pro Suite confirmation window.
Refresh Your Org and Turn on Pro Suite Settings
Follow these steps to refresh your org and turn on Pro Suite settings.
-
From the Welcome to Pro Suite window, select Turn on Pro Suite
Features. To keep your Pro Suite org up to date with future upgrades, you must
turn on these features. You’ll see this reminder at every log in until you do so.
-
From the Sit Tight window, select Got It to acknowledge the
additional actions required to turn on key Pro Suite features.
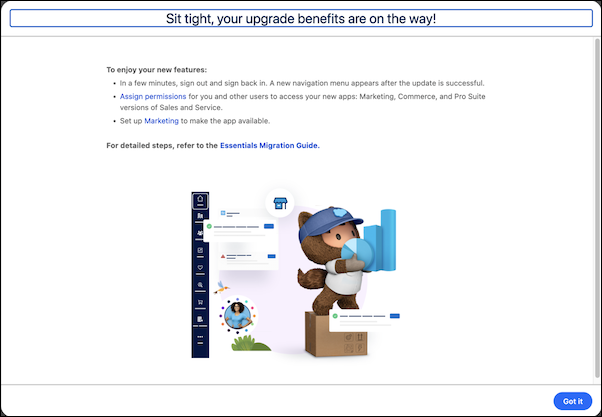
- Sign out from your org and then sign back in. This refreshes your view. You will see the new vertical navigation on the left side of your home page.
Turn on Marketing
Before you can start working with campaigns, you must enable Marketing and complete additional setup tasks required to meet email privacy regulations and give users access to the Marketing app.
- Turn on Marketing features.
- Configure Marketing email and consent settings.
For detailed instructions, see Set Up Marketing in Salesforce Suites help.
Turn on Commerce
Before you can create secure payment links or online shopping experiences for your customers, you must turn on Pay Now and create a direct-to-consumer (D2C) online store.
- Turn on Pay Now features.
- Use the Store Setup Assistant to help you create your D2C online store.
For detailed instructions, see Set Up Commerce in Salesforce Suites help.
Give Your Team Access to Pro Suite Apps
Follow these steps to give your team access to Pro Suite apps.
- From the home page, click the gear icon (Quick Settings) in the top-right corner.
- Select Open Advanced Setup.
- In the Quick Find box, search for and select Permission Sets.
- Select the Sales Starter App permission set to assign users.
- Select Manage Assignments and then Add Assignments.
- Choose the users you want to add and select Next.
- Click Assign and then Done.
-
Repeat steps three through seven for the following permission sets:
- Service Starter App
- Marketing Starter App
- Commerce Starter App
- Email Builder Lite
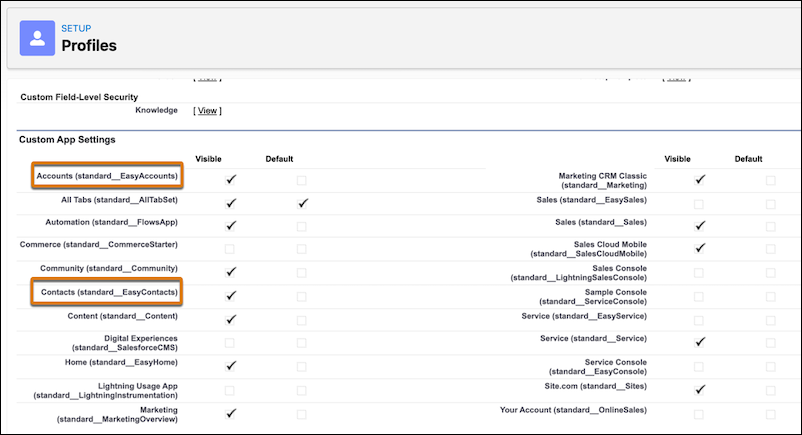
You manage access to the Accounts and Contacts apps by assigning users the General Users profile.