
You are here:
Configure for Deployment Between Orgs (Managed Package)
For the managed package runtime, you must configure a source org and a target org. Both orgs should have the same Omnistudio runtime.
 This information is for Omnistudio for Managed Packages. For Omnistudio on standard runtime, see Omnistudio Help.
You can import data packs of some older Omnistudio for Managed Packages objects into an Omnistudio org. Omnistudio Data Mapper, Integration Procedure, and LWC-enabled Omniscript objects are automatically converted to Omnistudio objects.
Importing data packs of Omnistudio objects into an Omnistudio for Managed Packages org isn't supported. Importing Cards between Omnistudio and Omnistudio for Managed Packages orgs isn't supported.
-
In the org you plan to use as your source, make sure the correct versions of
Salesforce objects you want to deploy are active.
Some objects, such as Omniscripts and Integration Procedures, have versions that can be activated and deactivated. Only active versions of such objects are deployed.
-
Open IDX Workbench. If no projects exist, the Configure Workspace dialog appears.
If other projects exist and you want to create a new project, click the Edit icon on the main IDX Workbench screen to open the Configure Workspace dialog.
-
From the Repository dropdown list, select New Repository.
You must create a repository for the project even if both your source and target are orgs.
- In the New Repository dialog, specify a name and a repository folder. If the folder doesn't exist, it's created. Click Save.
-
From the Source dropdown list, select New Environment. (An
environment is an org.)
To configure limited access to an org, see Configure an Org Using a Community User Login (Managed Package).
- In the New Salesforce Org dialog, specify a name.
- If your source is a sandbox org, change the Organization Type to https://test.salesforce.com.
-
Click Log in using OAuth. The Salesforce login window
appears. Log in to the org.
If the Allow Access window appears, click Allow.
 Note
NoteIf you use the Google Chrome browser and you're redirected to a
localhostURL when you attempt to log in, open a new browser tab and paste this URL into the address field:chrome://net-internals/#hsts. Look under the Delete domain security policies heading. If localhost is in the Domain field, click Delete. -
From the Target dropdown list, select New Environment.
Repeat the same steps.
To configure limited access to an org, see Configure an Org Using a Community User Login (Managed Package).
-
From the Project dropdown list, select New Project.
To use a Project object instead of configuring a project, see the next section.
- In the New Project dialog, specify a name for your project.
-
Select the types of Vlocity and/or Salesforce objects to deploy. You can use the
Search field to filter the list. Select all the types you need.
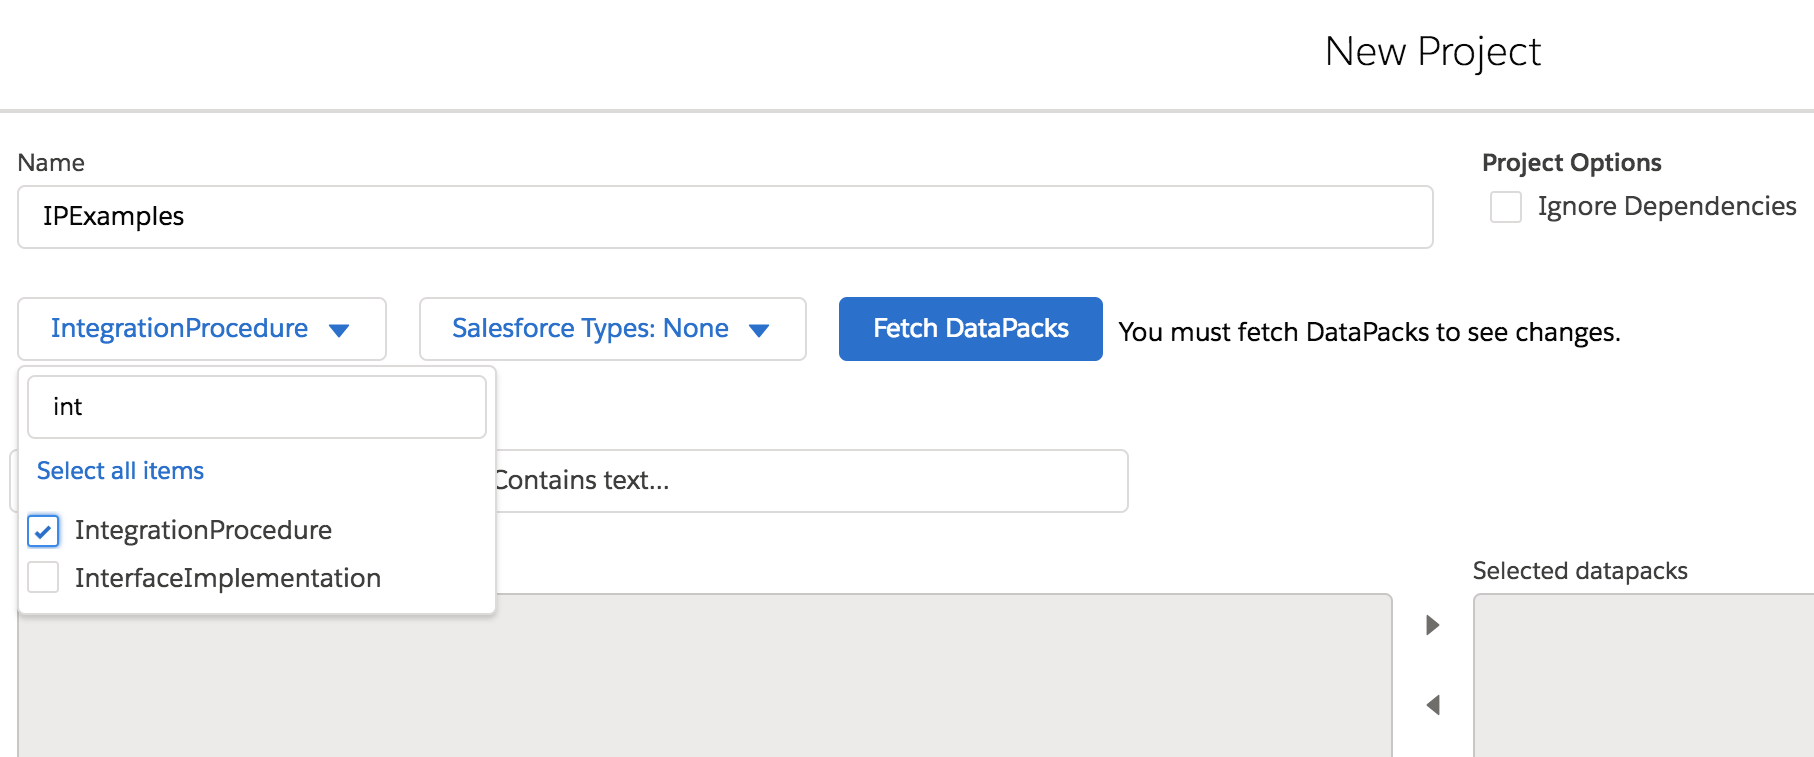
- Click Fetch DataPacks.
-
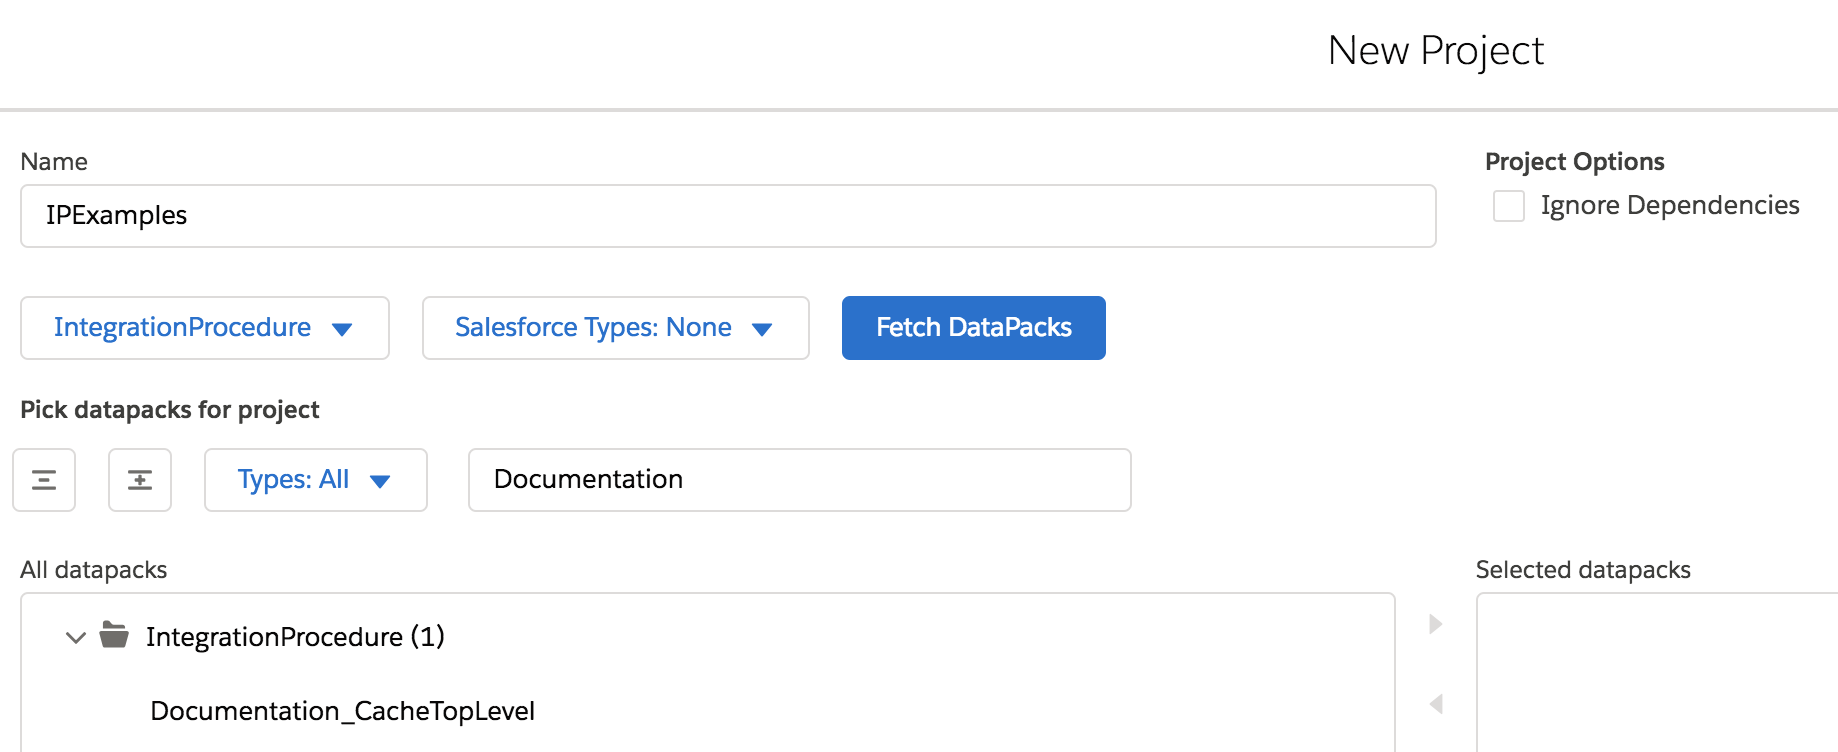
Under Pick datapacks for project, you can optionally enter text to filter the names
of the fetched objects.
-
Move the objects you want to deploy from the All datapacks list to the Selected
datapacks list. You can use the Shift key to select multiple items in either list.
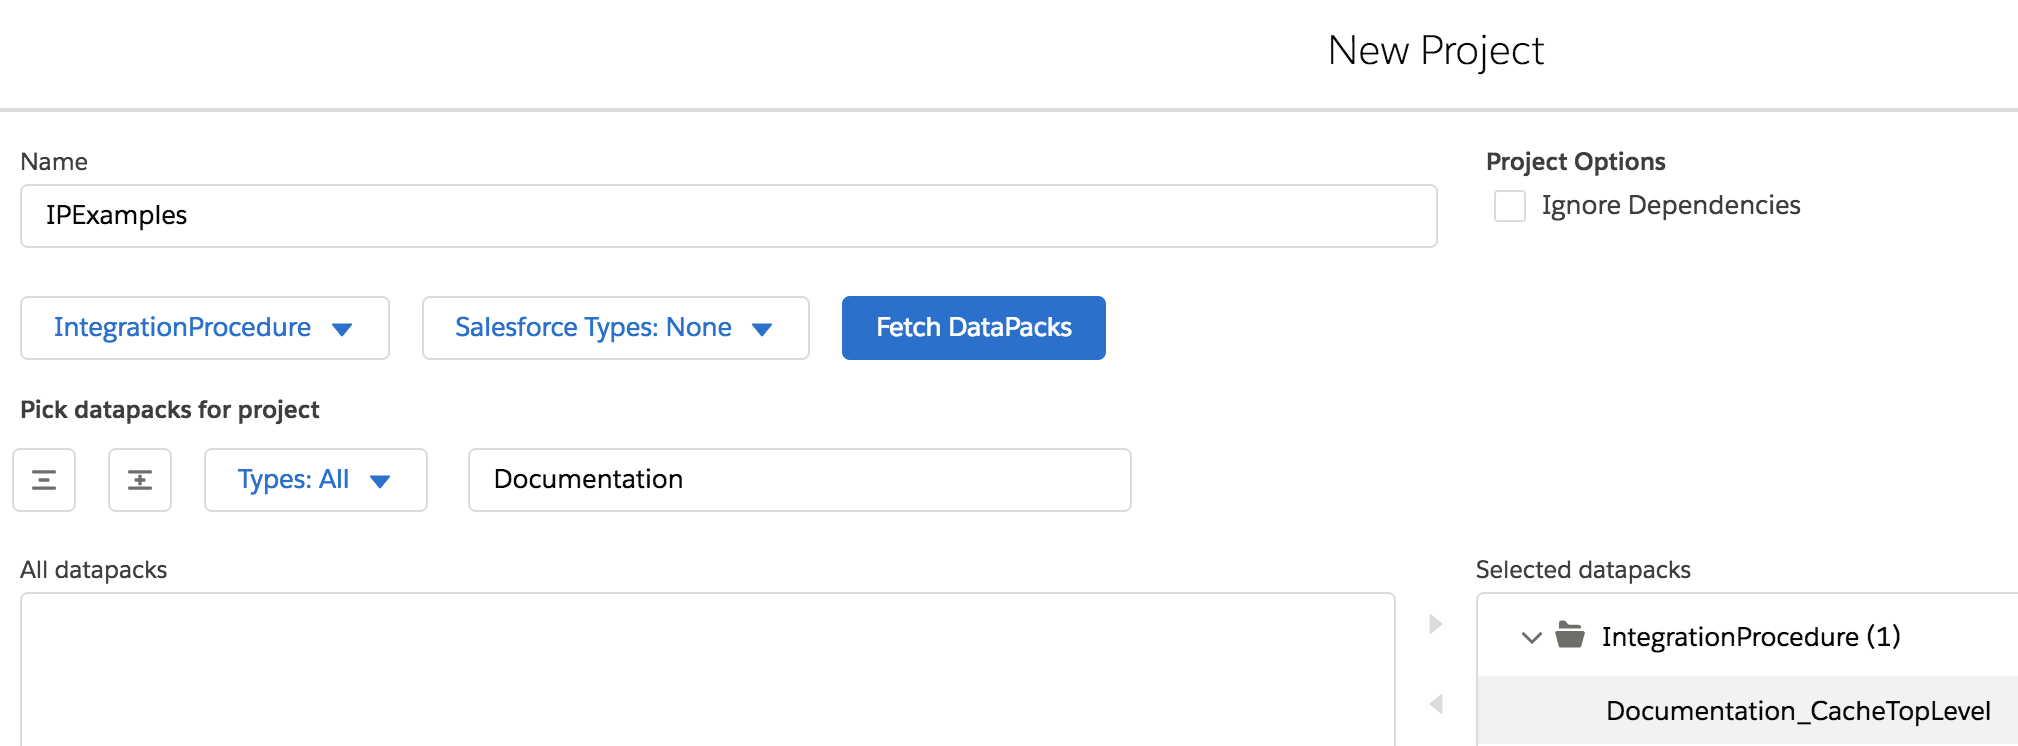
You can click Ignore Dependencies to exclude dependent objects from deployment.
- Click Save. The Configure Workspace dialog reappears.
-
To refresh comparison data whenever you save the workspace, make sure
Force refresh of data from orgs is selected.

-
Click Save to save the workspace.
Messages appear as objects are fetched. To cancel, press Command-R on the Mac or Control-R on other operating systems.
- When the listing is complete, IDX Workbench displays green + icons to indicate the new objects in the source org.
-
To edit the repository:
-
Click the Edit icon on the main IDX Workbench screen to reopen the Configure Workspace dialog.
-
Click the Edit icon next to the Repository dropdown list to open the Repository Settings.
-
Edit the Expansion Path if you want to change the subfolder of the repository folder in which data packs are stored.
-
Specify Additional DataPack Query Filters if you want to filter objects of the specified type in all projects that use the repository. Click Add New Filter to add as many filters as you need.
For example, setting DataPack Type to Product2 and Additional Query Filter to
RecordTypeId != nullexcludes non-Vlocity products. -
Click Save.
-
-
To add objects to the project:
-
Click the Edit icon on the main IDX Workbench screen to reopen the Configure Workspace dialog.
-
Click the Edit icon next to the Project dropdown list to reopen the Project dialog.
-
Repeat steps 12 through 18 above.
-
