
You are here:
Configuring an Integration Procedure Data Source (Managed Package)
For the managed package runtime, configure a data source to use a Vlocity Integration Procedure to execute multiple actions in a single server call.
 This information is for Omnistudio for Managed Packages. For Omnistudio on standard runtime, see Omnistudio Help.
An Integration Procedure doesn’t support the following data sources:
-
Salesforce Object Search Language (SOSL)
-
Streaming API
-
Off-Platform
- On the Vlocity Cards tab, click New to configure a data source for a new card, or select an existing card to configure its data source.
-
In the Cards Designer, in the Layout or Cards pane, from the Data
Source picklist, select Integration Procedures.

- Enter the Name of the Integration Procedure to use. To create an Integration Procedure, see Create an Integration Procedure (Managed Package).
-
Click + Add Input Map Variable to add one or more
name-value pairs to pass to the Integration Procedure. To determine the name-value
pair to pass to the Integration Procedure, in your Integration Procedure, view the
Element Value Map on its SetValues action or the
Input Parameters on its Preview tab.
For example, to use the Page Parameters
{{params}}context variable to dynamically set the ContextId of your layouts and cards:-
Open your Integration Procedure, click the Preview tab to view the Input Parameters.
-
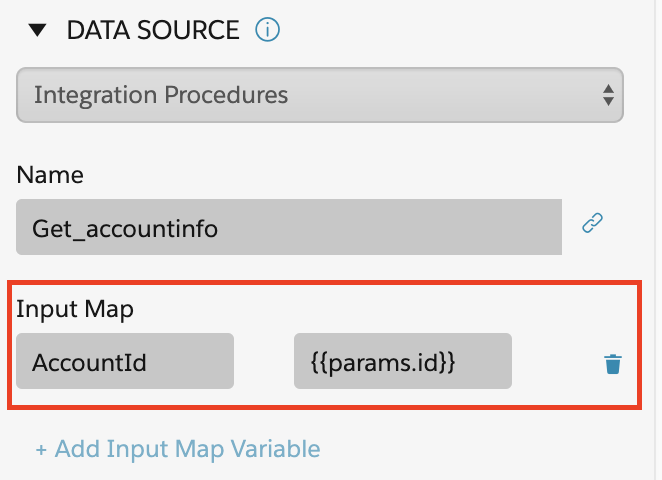
In the Data Source section of your card or layout, in the first field of the Input Map, enter the key of the Input Parameter, such as
AccountId. -
In the second field of the Input Map, enter
{{params.id}}as the value. Parameters passed to a page are stored in the{{params}}context variable for use anywhere in the Vlocity Cards framework. In this case, your card or layout inherits the Id of the record page it's on in order to dynamically populate the cards with that record's data.
-
-
Optionally, enter the values for the following:
-
Options Map: To pass additional parameters to the Integration Procedure, enter a name-value pair.
-
Return JSON Path: To drill down through the JSON data to pass a specific dataset to the cards, enter the JSON path. For example, enter Account.Cases to return data from the ‘Cases’ object only.
-
OrderBy: To change the order of the data returned, choose the data field by which to order the returned data.
 Important
The OrderBy feature works with one array of objects. The feature does not work with multiple objects with or without internal arrays. For example, if you want to order by Case.Number, and have Account, Cases and Contact objects in the returned data, the OrderBy feature does not work.
-
Reverse Order: To reverse the order of the data returned, select True from the picklist.
-
Timeout (ms): To limit the time that the framework waits for the designated data source to return a response, set a timeout value in milliseconds.
-
Timeouts improve handling user interactions with long running processes. Setting an appropriate timeout value allows the application and users to react accordingly to long wait times.
-
-
Interval (ms): To continuously refresh the data and check for changes from the data source, set an interval value in milliseconds.
-
If changes are found, the layout or card component reloads. Setting an interval enables recursive updates of records.
-
-
- In Test Data Source Settings, add a test variable that the query can use to return live data in the Preview pane. See Testing Data Source Settings (Managed Package).
-
To Use Dummy Data from an Integration Procedure:
-
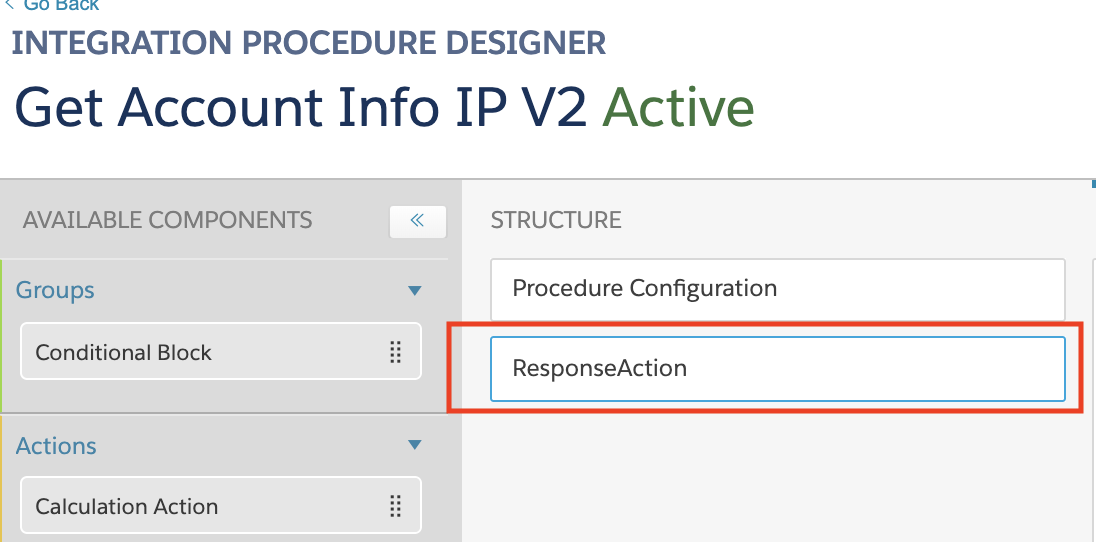
In a current or new Integration Procedure add a Response Action step.
-
Use one of two methods to add dummy JSON data:
-
For a small dataset:
-
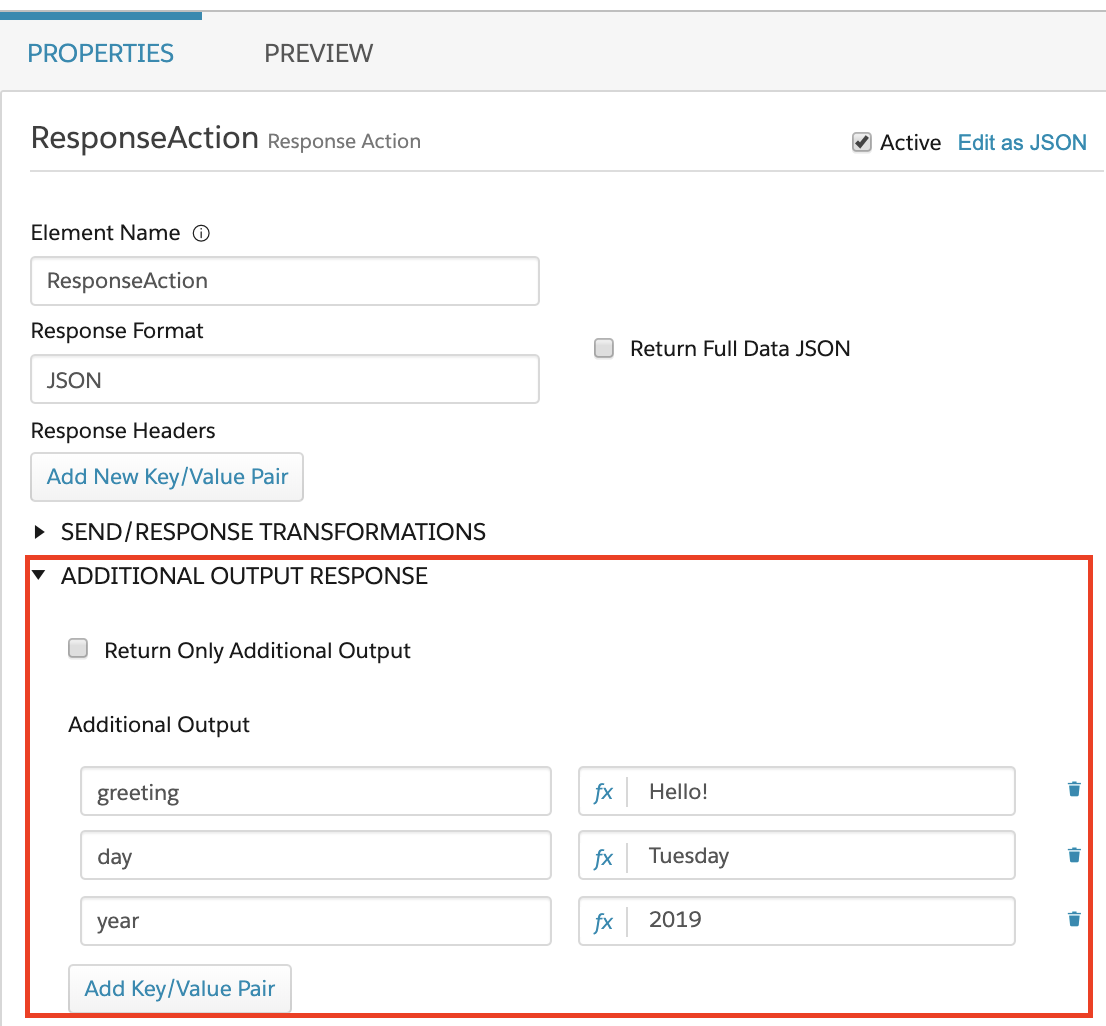
In the Properties tab, click ADDITIONAL OUTPUT RESPONSE.
-
For each key/value pair, click the Add Key/Value Pair button and add your data.
-
-
For a large dataset:
-
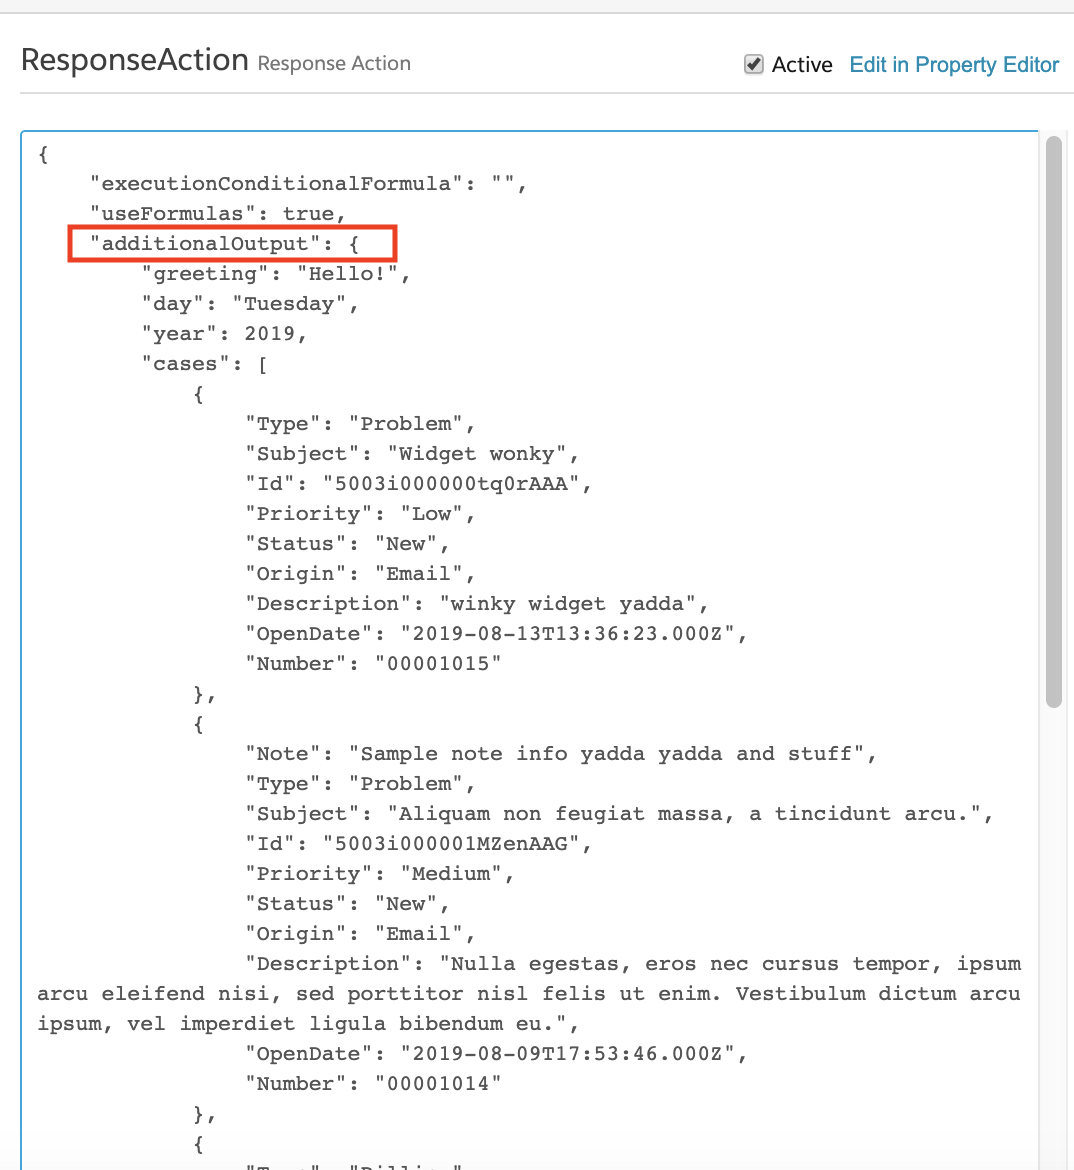
Click the Edit as JSON link at the top right of the Properties tab.
-
In the additionalOutput node, enter your full JSON data as an object.
-
-
-
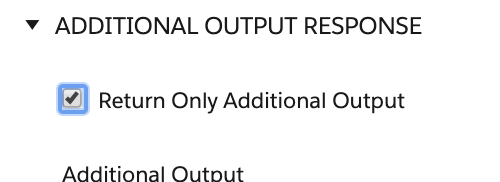
(Optional) If the Integration Procedure has other data sources, to return
only the dummy data, select the checkbox next to the Return Only
Additional Output label.
- In the Card Designer, in the Layout or Cards pane, confirm that the Integration Procedure with the dummy data is chosen in the Name field.
- To view your dummy data, click the View Data button at the bottom of the Layout or Cards pane.
-
In a current or new Integration Procedure add a Response Action step.