You are here:
Create a Public Property for a Flexcard LWC in the Flexcard Designer
In the Flexcard Designer, define an attribute that creates a public property whose
value is set in the Lightning App Builder and Experience Builder. Call the attribute within
the Flexcard as a session variable ({Session.AttName})
where merge fields are supported, such as in a Text element and a data source
parameter.
For example, enable an admin to limit the number of records displayed on a Flexcard on a record page. Enter the session variable in a SOQL query, such as where Limit = {Session.RecordLimit}.
Public properties are
published to the configuration file that defines the metadata values for your Flexcard
LWC. See targetConfig > property in Configuration File Tags. Additional metadata
values are configurable in the Designer with the Publish Options feature when your card
is active. See Publish a Flexcard.
Required Versions |
|---|
Available beginning Winter '22. |
One public property you can define is the Flexcard's ContextId. See Access the ContextId of a Flexcard on an Experience Site.
- In the Flexcard Designer, select Setup to open the Setup panel.
-
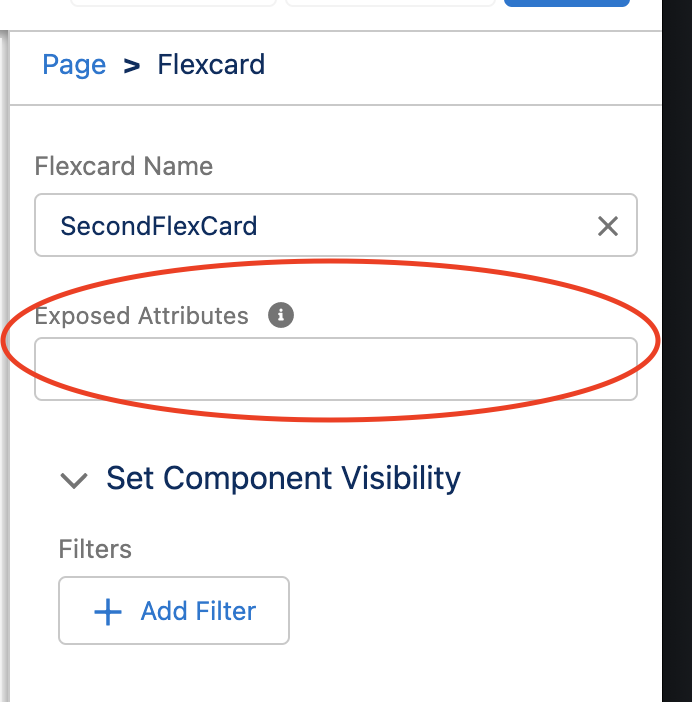
Click + Add New next to Exposed Attributes, and enter the values for the following properties:
-
Attribute: The name of the attribute in PascalCase, such as RecordLimit.
 Important
The generated API name is cfPropName. From a Custom LWC or an Omniscript, reference the property name in kebab case, such as cf-record-limit.
-
Type: Select the type of property from the dropdown:
-
Select String to display a text field whose value must be text.
-
Select Boolean to display a checkbox that evaluates to true when checked and false when not checked.
-
Select Number to display a text field whose value must be a number.
-
-
Targets: Select one or more page types for which this property is visible.
 Note
NoteTo view the property in an Experience Builder site, select lightningCommunity__Default.
-
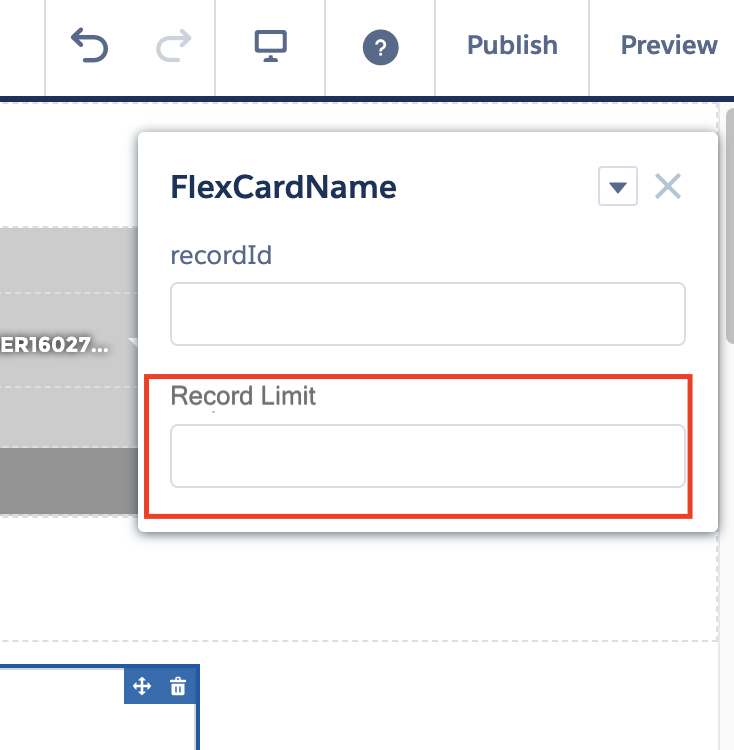
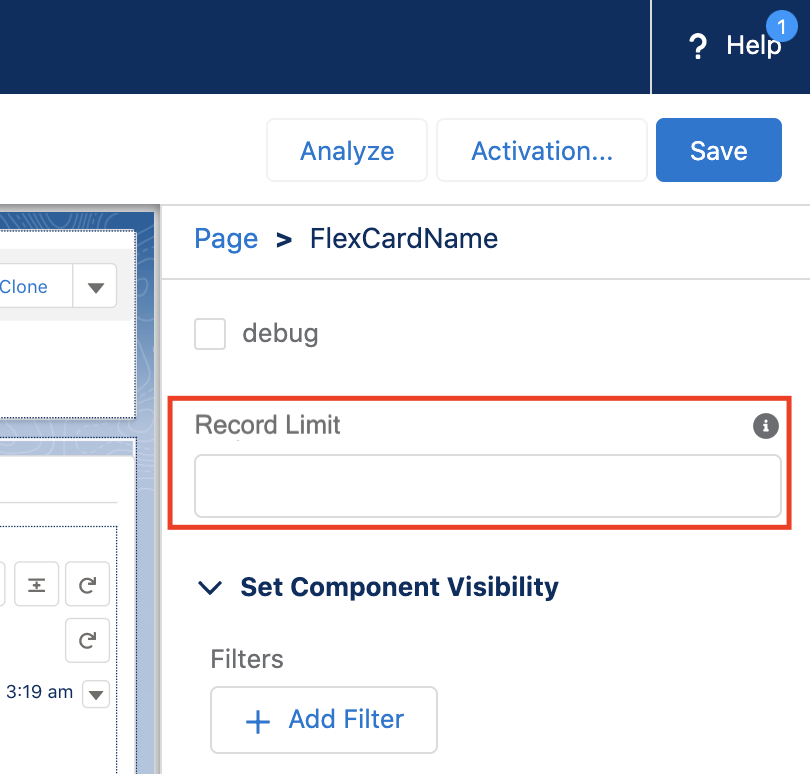
Label: Enter the property label, such as Record Limit.
-
(Optional) Value: Enter a default value.
-
- Click Save.
-
To call the attribute as a session variable within the Flexcard, use the
{Session}merge field. For example, if your Attribute name is RecordLimit, enter {Session.RecordLimit}.Use {Session.RecordLimit} in fields where merge fields are supported. Examples are a Text element, a data source's test and input parameters, and a Field element's Output property. - Activate your Flexcard.
- To configure where your Flexcard can be published, such as a Lightning page or an Experience Builder site, see Define Metadata Values from the Flexcard Designer.
- To add your active Flexcard to a Lightning or Experience page, see Activate and Publish a Flexcard.
-
To configure the public property in the Lightning App Builder or Experience Builder, update the value of the property in the Builder's properties panel.
 Note
NoteBeginning Summer '22, if you add a standard Flexcard component to a Lightning or Experience page, enter the public property as a JSON key/value pair in Exposed Variables. For example, if the Label of your exposed attribute is RecordLimit, enter {"RecordLimit": 20}. To configure multiple variables, enter a comma-separated list of key/value pairs, such as {"RecordLimit": 20, "Greeting": "Hello"}.