
You are here:
Install or Upgrade the Omnistudio Package
Omnistudio is in a managed package that you install into a Salesforce org. If your org isn’t automatically upgraded, use these procedures to upgrade Omnistudio.
Salesforce delivers new features three times per year (during the seasonal releases: Spring, Summer, and Winter) via automatic upgrades. After you install Omnistudio Spring ‘24, your org receives future upgrades automatically, both major and patch releases.
If your production and sandbox orgs are on Winter '24 when Spring '24 releases, those orgs automatically upgrade to Spring '24.
Don't install the Insurance or CME managed package if the Omnistudio Foundation managed package is already installed. Having both packages installed results in duplicate components.
If your org already has the Omnistudio package installed and you want to install Insurance, Communications, Media, or Energy, contact Salesforce support.
- If you're installing Omnistudio for the first time, complete the Prepare to Install the Omnistudio Package task. If you're upgrading Omnistudio, skip this step.
- Log off from all Salesforce orgs.
-
To install the latest Omnistudio managed package, go to Omnistudio Managed Package Releases and click the installation
URL. For installation links to versions older than the current release, contact Salesforce
Customer Support.
 Tip
TipTo be extra cautious, do the upgrade in an incognito browser window.
- Log in to the org you're installing Omnistudio into.
-
Select which users get Omnistudio access, then click
Install.
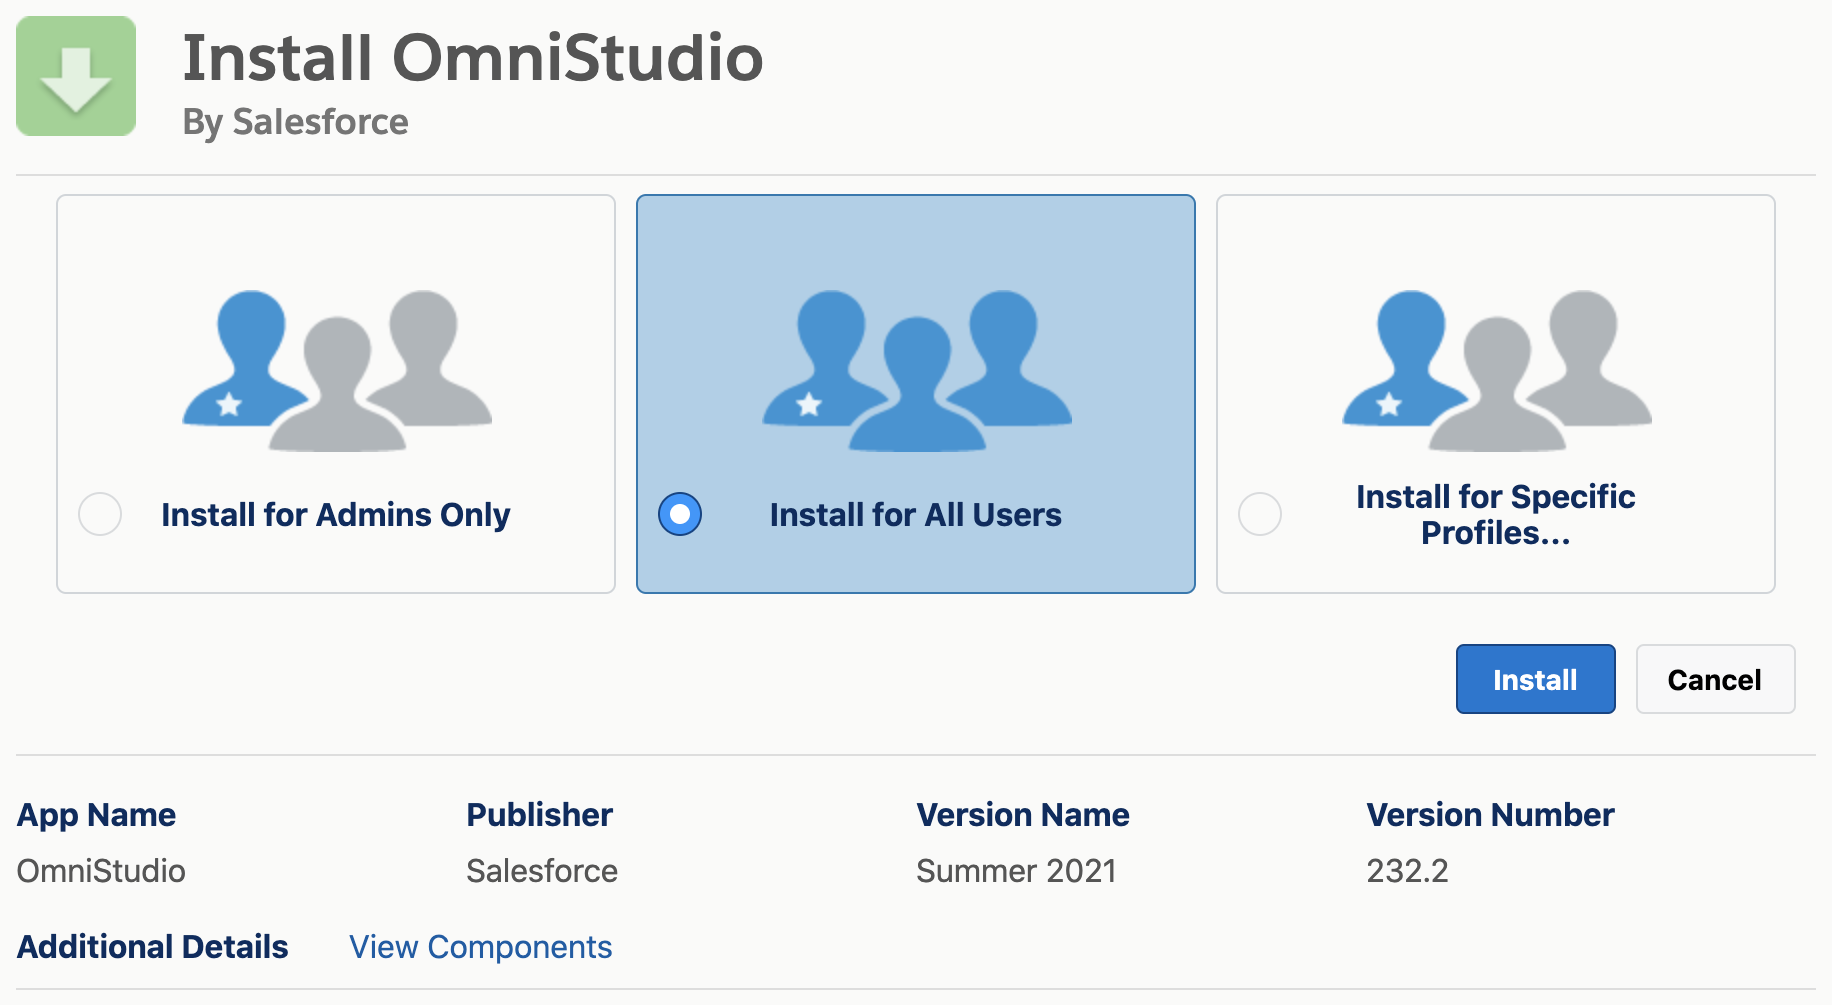
If you see a warning and a checkbox, check the box and then click Install or Upgrade.
-
On the Approve Third-Party Access window, make sure that both options are
selected.
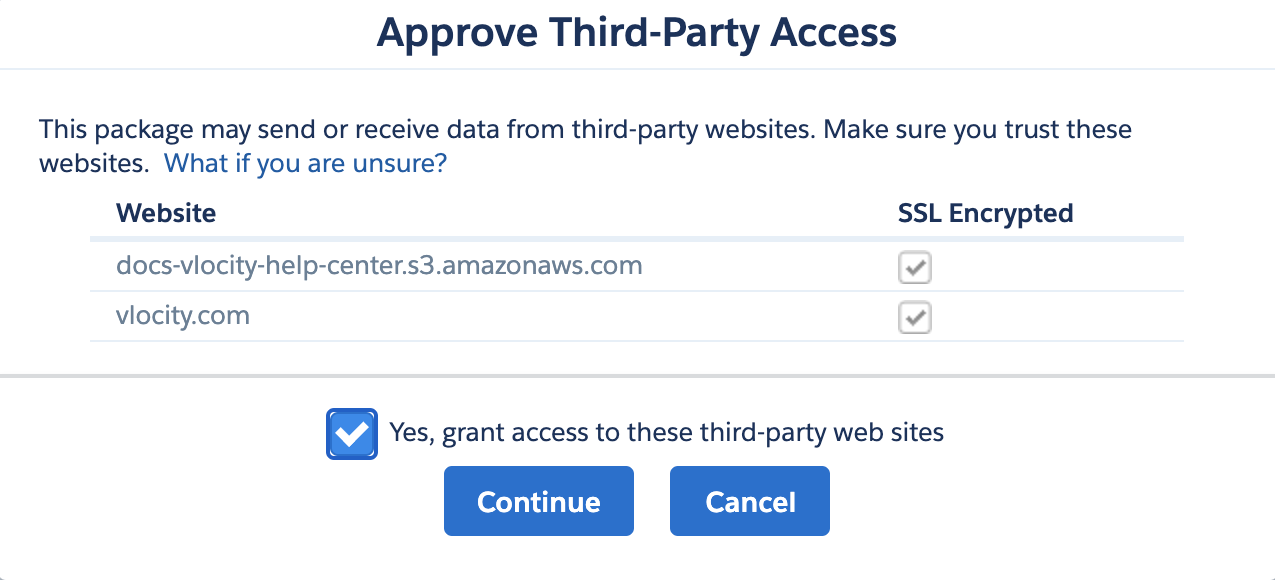
Both websites are safe and trusted sites. Access to these sites is required for the Omnistudio managed package to install.
 Note
NoteIf this window doesn't appear, these options are already selected.
-
Select Yes, grant access to these third-party web sites,
then click Continue.
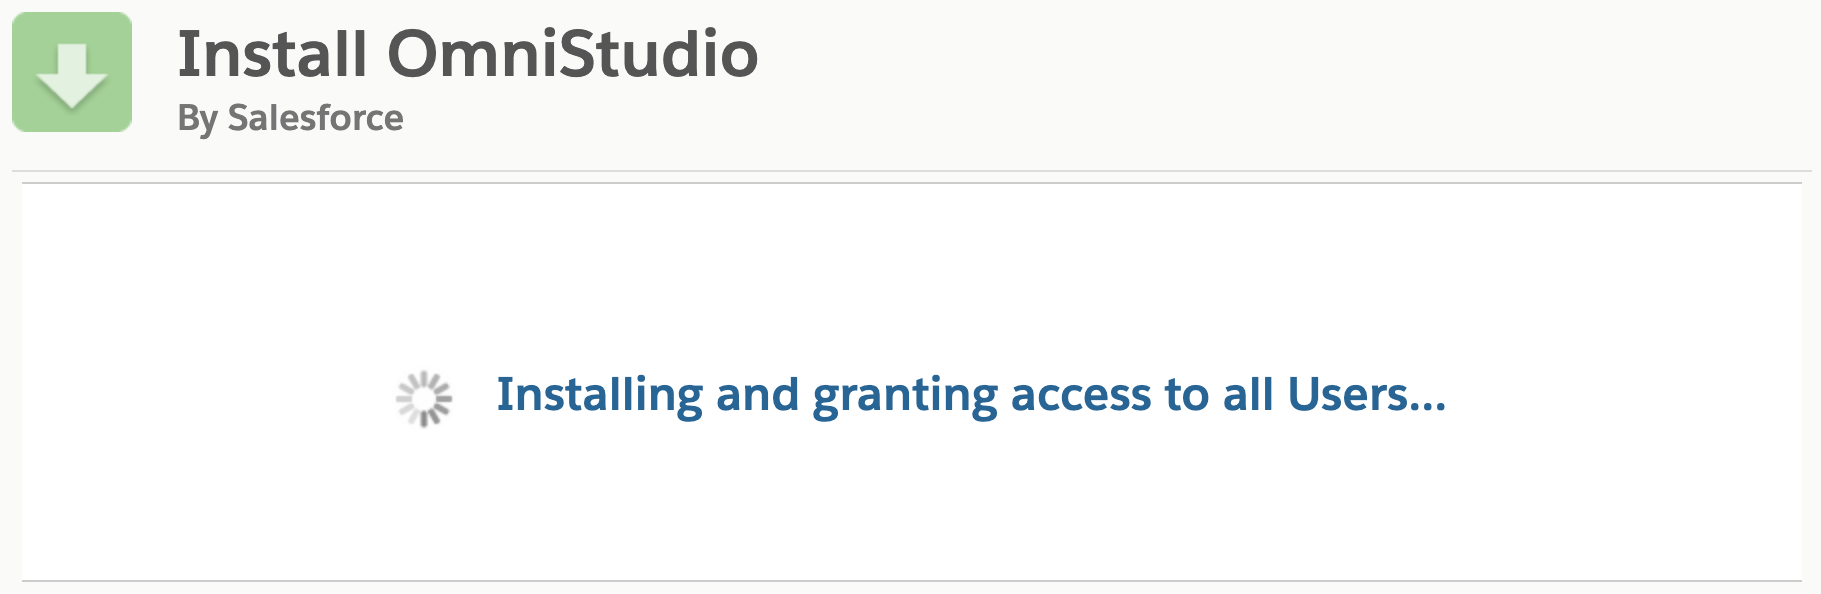
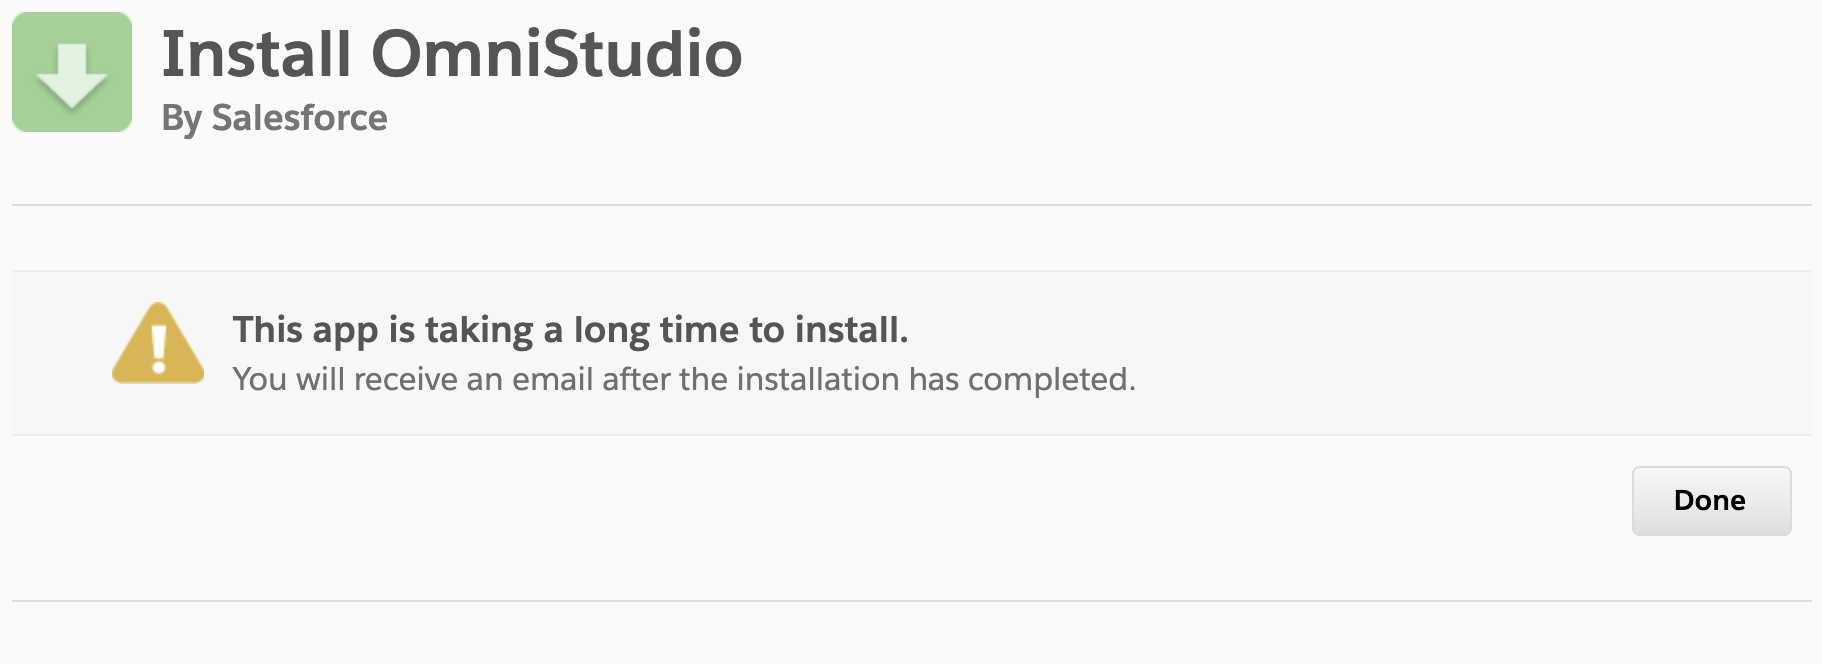
The managed package can take longer to install than the standard Salesforce timeout allows.
-
Wait for the Install Successful email.
 Important
It's safe to go to the Installed Packages page in Setup and refresh occasionally until the managed package appears. However, don't start installing the other packages until the managed package installation is complete.
You can also go to the Deployment Status page in Setup to watch the installation progress. A gray circle turns green if the installation is successful or red if it fails.
-
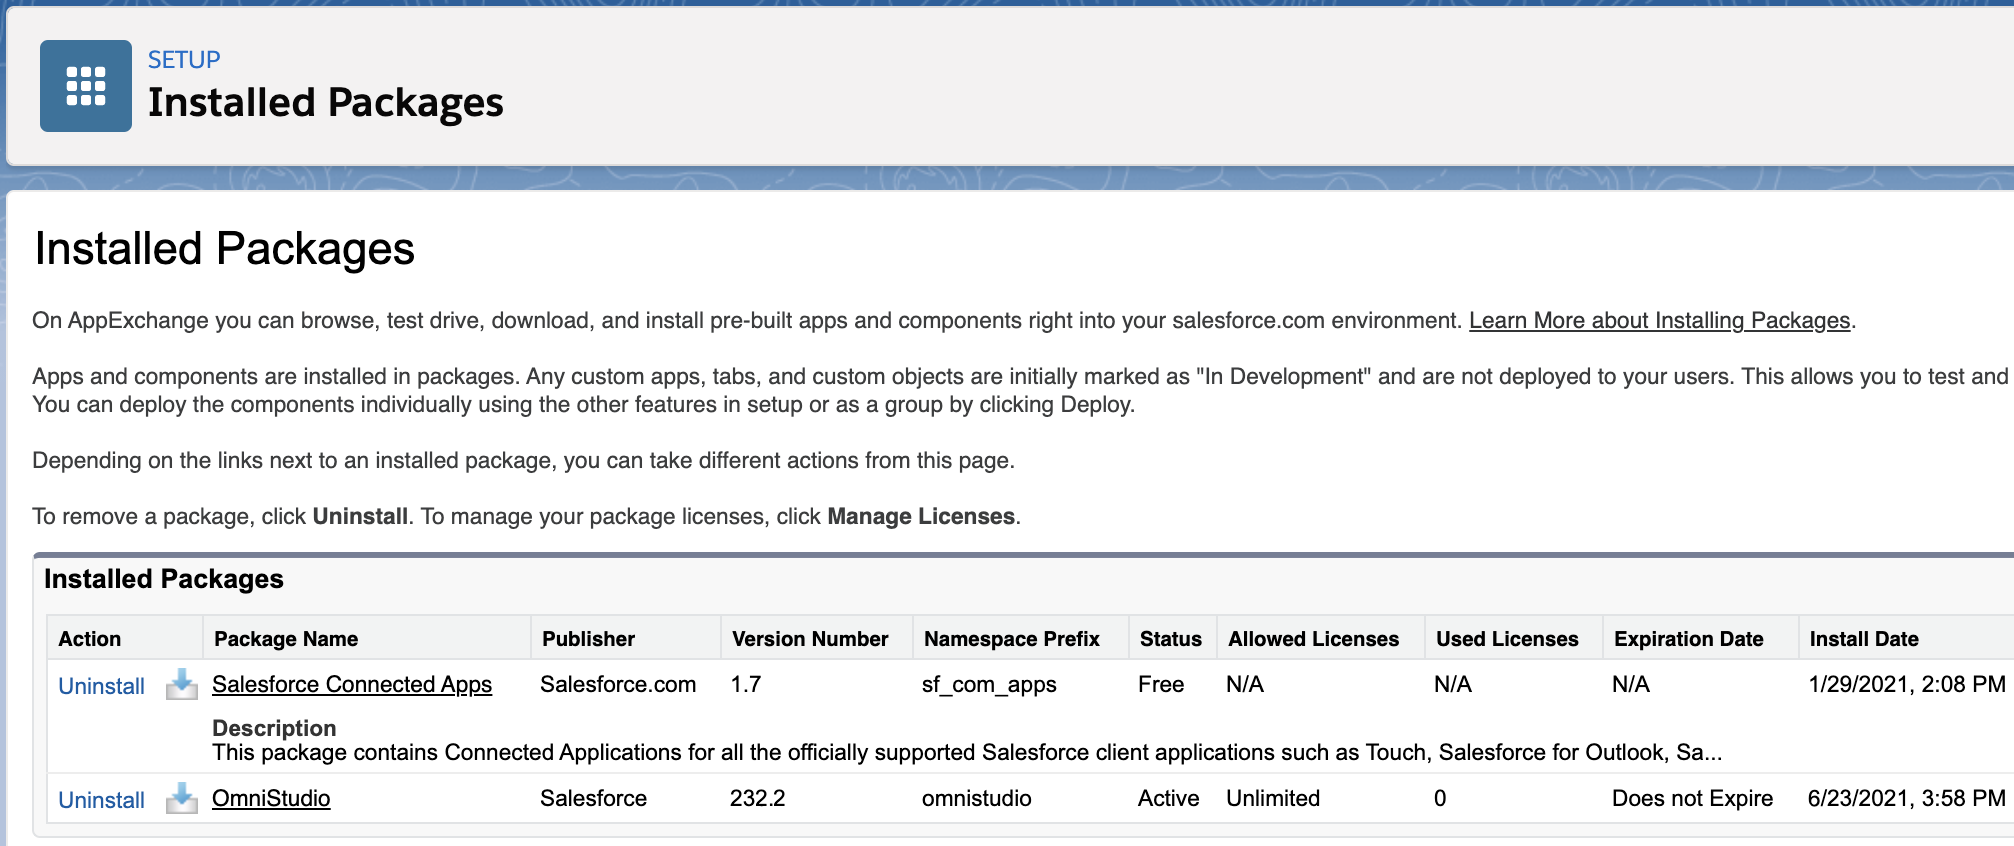
After you receive the email, click Done. This action takes
you to the Installed Packages page in Setup, where you can verify that the package is
installed.
What’s next: Switch to the Salesforce standard data model and runtime. See Disable the Managed Package Runtime and Deploy Custom Lightning Web Components. By default, Omnistudio uses the custom data model, and the Managed Package Runtime setting is enabled. For more information on Omnistudio, see Omnistudio for Managed Packages and Omnistudio.
- Omnistudio Post Installation Tasks for Summer ‘23 and Later
After you’ve installed the managed package, you must configure Remote Site Settings and assign Permission Sets to users. - Omnistudio Post Installation Tasks for Spring ‘23
After you’ve installed the managed package, you must configure Remote Site Settings and assign Permission Sets to users. - Omnistudio Post Installation Tasks for Winter ‘23
After you’ve installed the managed package, you must configure Remote Site Settings and assign Permission Sets to users. - Omnistudio Post-Installation Tasks for Summer '22
After you’ve installed the managed package, you must configure Remote Site Settings and assign Permission Sets to users. - Omnistudio Post-Installation Tasks for Spring '22
After you’ve installed the managed package, you must configure Remote Site Settings and assign Permission Sets to users. - Omnistudio Post-Installation Tasks for Winter '22
After you’ve installed the managed package, you must configure Remote Site Settings and assign Permission Sets to users. - Omnistudio Post-Upgrade Tasks for Winter '22
This release requires only two post-upgrade tasks: edit the profile and the permission set for Digital Experience users. - Omnistudio Post-Installation Tasks for Summer '21
After you’ve installed the managed package, you must configure Remote Site Settings and assign Permission Sets to users. - Manually Update Remote Site Settings for Flexcards
Manually grant access to your org domains to enable LWC features such as Preview. When spinning a new org or new installation, the Tooling API calls necessary for LWC may fail if the Remote Site Setting page in your org does not include the URLs required. The required URLs are your org's lightning.force.com URL and the vf.force.com URL of the Visualforce page that contains the Flexcard Designer.