
You are here:
Host a Preference Form on an Experience Cloud Site
Publish your Preference Manager form on an Experience Cloud site to give end users access to the form.
Required Editions
| User Permissions Needed | |
|---|---|
| To customize an Experience Cloud site: |
|
| To publish an Experience Cloud site: |
|
- If you don’t already have one, create an Experience Cloud site using a Help Center, Customer Account Portal, or Customer Service template. For instructions, see Create an Experience Cloud Site.
- Go to the page on your site where you want to host the preference form, or create a page.
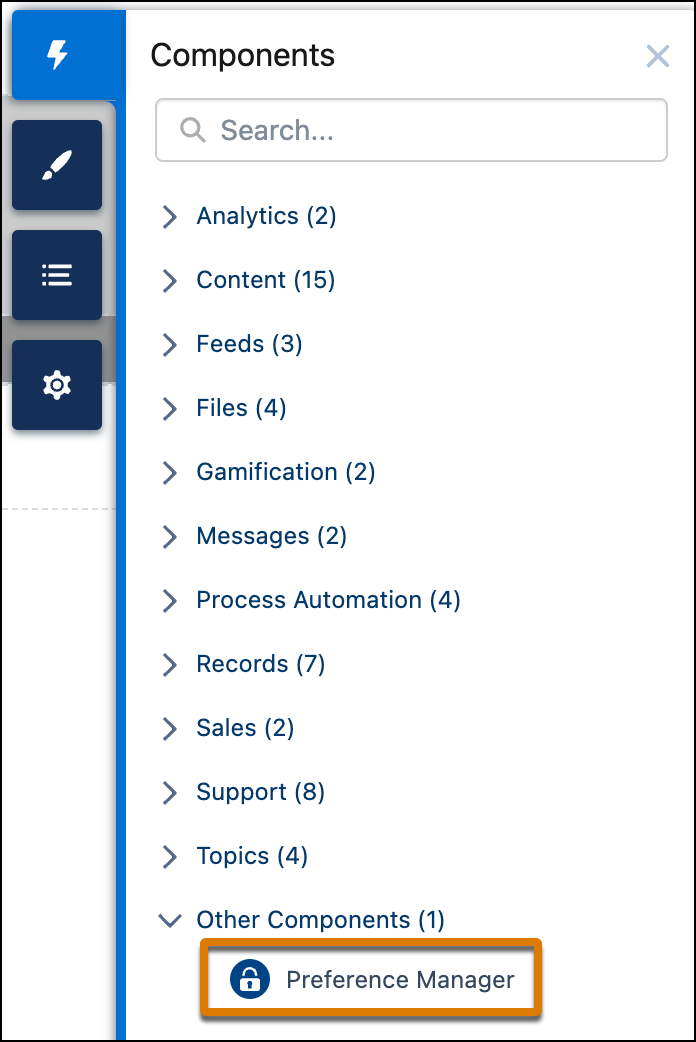
- From the page where you want to host the preference form, click the lightning icon to open the Components panel.
- Find the Preference Manager component, and then drag it onto an editable area of the
page.
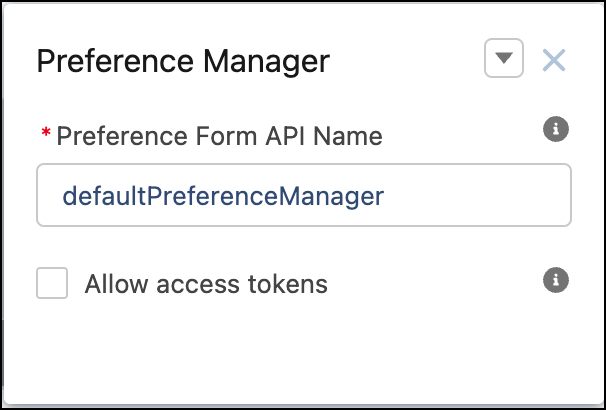
- Click the Preference Manager component to edit, and give it a name.
- To give logged-in Experience Cloud users access to the form:
- From Setup, in the Object Manager, create a lookup relationship from the User object to the Individual record. Consent information is stored in the Individual record.
- In Experience Builder, click the Settings icon, and deselect the Public Access checkbox.
- From the Builder workspace, deselect the Allow access tokens
checkbox.
- To give Experience Cloud users access to the form without logging in:
- In Experience Builder, click the Settings icon, and select the Public Access checkbox.
- From the Builder workspace, select the Allow access tokens checkbox.
- Create an access token. For instructions on how to create an access token, see Create Preference Form Access Tokens.
- Append the access token to the Experience site URL that you send to your users. For example, https://myexperiencesite.force.com/mysitename/s/pctoken=[token string].
- Link your preference form so that it appears in the Preference Manager component of your
site.
- In another browser window, from the Preference Manager dashboard, select the Forms tab.
- In the API Name column of the table, copy the full API name of the form that you want to host on your site.
- Activate and publish your site. You receive an email with a link to access your site.
Did this article solve your issue?
Let us know so we can improve!