As an admin, you have access to your own Recycle Bin and the Salesforce org’s Recycle
Bin. You can view, restore, and permanently delete records in the Org Recycle Bin and your own
Recycle Bin. Use list view functionality to sort and filter to find the records you
need.
Required Editions
Available in: Lightning Experience
Available in: Group, Essentials, Professional, Enterprise,
Performance, Unlimited, and Developer Editions
User Permissions Needed
To view and restore your deleted records:
Read on the records in the Recycle Bin
To view and restore records deleted by other users:
Modify All Data
To restore deleted public tags:
Tag Manager
To delete records in the Recycle Bin permanently:
Modify All Data
Records in the Recycle Bin don’t count against your Salesforce org’s storage usage. There
isn’t a limit on the number of deleted records that the Recycle Bin can hold.
Deleted items remain in the Recycle Bin for 15 days, and during that time users can restore
them. After 15 days, Salesforce schedules these items for permanent deletion from the
Recycle Bin. Salesforce doesn’t guarantee the exact time that the Recycle Bin permanently
deletes these items.
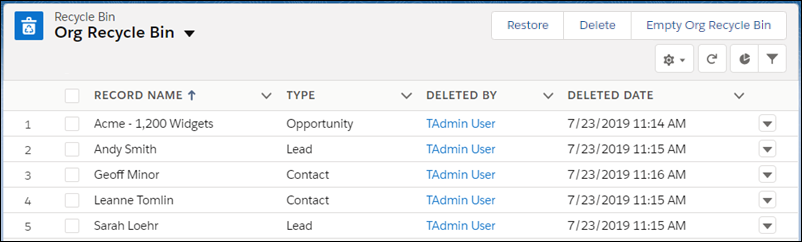
To access the Recycle Bin, from the App Launcher, find and select it, or add it to your
navigation bar. Or, add the Recycle Bin tab for your org in the Lightning App Builder.
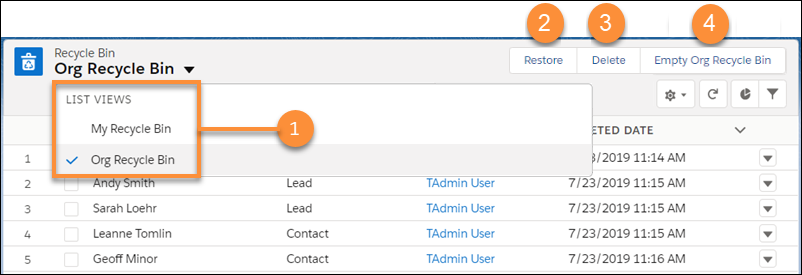
Select the Recycle Bin that you want to access (1).
Select the items you want to restore or permanently delete, and click
Restore (2) or Delete (3).
To delete all items in the Org Recycle Bin permanently, click Empty Org
Recycle Bin (4). Then confirm that you want to empty the Recycle Bin.
Note You can have only one empty process running at a time. The processing time varies
depending on the number of records there are in your org’s Recycle Bin. From Setup, in
the Quick Find box, enter View Setup Audit Trail, and then select
View Setup Audit Trail to check the status of completed empty
processes.
We use three kinds of cookies on our websites: required, functional, and advertising. You can choose whether functional and advertising cookies apply. Click on the different cookie categories to find out more about each category and to change the default settings.
Privacy Statement
Required Cookies
Always Active
Required cookies are necessary for basic website functionality. Some examples include: session cookies needed to transmit the website, authentication cookies, and security cookies.
Functional Cookies
Functional cookies enhance functions, performance, and services on the website. Some examples include: cookies used to analyze site traffic, cookies used for market research, and cookies used to display advertising that is not directed to a particular individual.
Advertising Cookies
Advertising cookies track activity across websites in order to understand a viewer’s interests, and direct them specific marketing. Some examples include: cookies used for remarketing, or interest-based advertising.