You are here:
Stage CSV Data in Datasets
Because CSV files can’t be used as sources in a recipe, you can upload the CSV file and write it to a dataset. And then you can use the dataset as a source for the recipe. When you upload the file, it’s temporarily stored for processing only. After the dataset is created, the file is purged. If you want to use the file again later, keep a copy.
When you upload the file, Data Pipelines infers the metadata about each column in the CSV file. Metadata describes the structure of the data in the file, like the data type, precision, and scale. If you upload a CSV from the user interface, Data Pipelines automatically generates the metadata, which you can preview and change.
Before uploading a CSV file:
- Review the format requirements, like date formats, in the CRM Analytics External Data Format Developer Guide.
- Ensure that the column names in the external data file don’t conflict with the generated date column names. For example, if you load a CSV with column Create_Date, Data Pipelines generates the Create_Date_Year column in the dataset. If the CSV also has a column named Create_Date_Year, the Data Pipelines throws an error because the names conflict. For more information about auto-generated date columns in datasets, see Handle Date Values (CRM Analytics help).
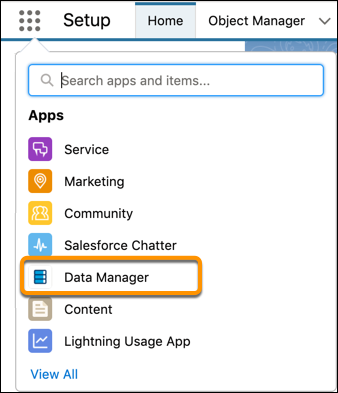
- To open Data Manager, select Data Manager from the app picker.
- To open the Data tab, click Data.

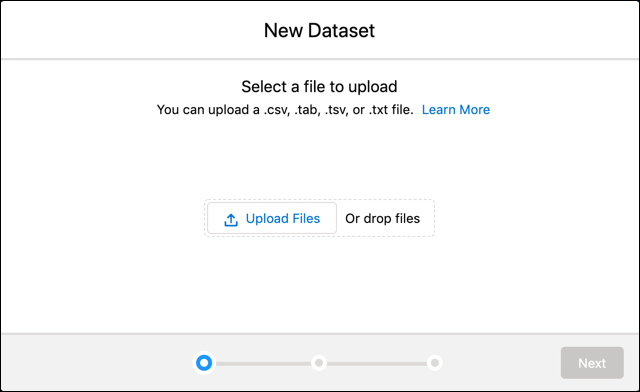
- Click New Dataset.
- Click Upload Files, select the file, and then click
Open.
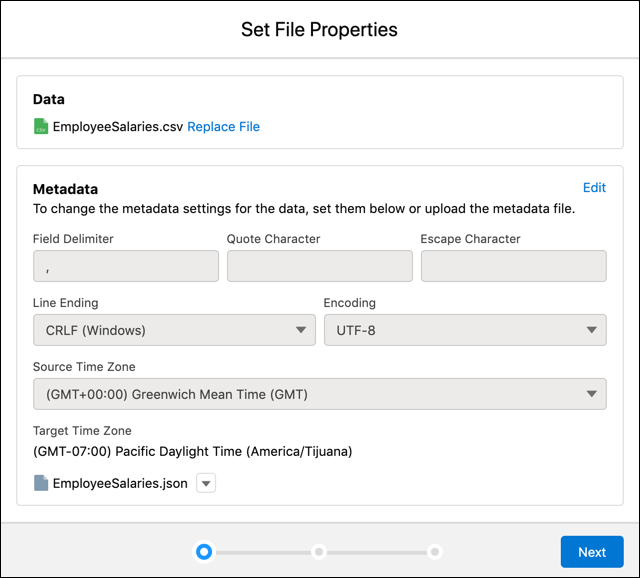
- Check that Data Pipelines correctly identified your file’s properties.Usually, Data Pipelines correctly identifies your file properties. If it doesn’t, your data can load incorrectly and you see unexpected results when you preview the data on the next screen. For example, if we chose the wrong field delimiter, your columns could be off.
- To edit the file properties, click Edit or upload a new metadata file.
- Click Next.
- In the Dataset Label field, enter a name for the dataset.By default, Data Pipelines uses the file name as the dataset name. The name can’t exceed 80 characters.
- Select the app where the dataset is created.By default, Data Pipelines selects your My Private App. To change an app, click the cross on it, and select a different one.
- Click Next.The Edit Column Attributes screen appears. Here, you can preview the data and change the attributes for each column.
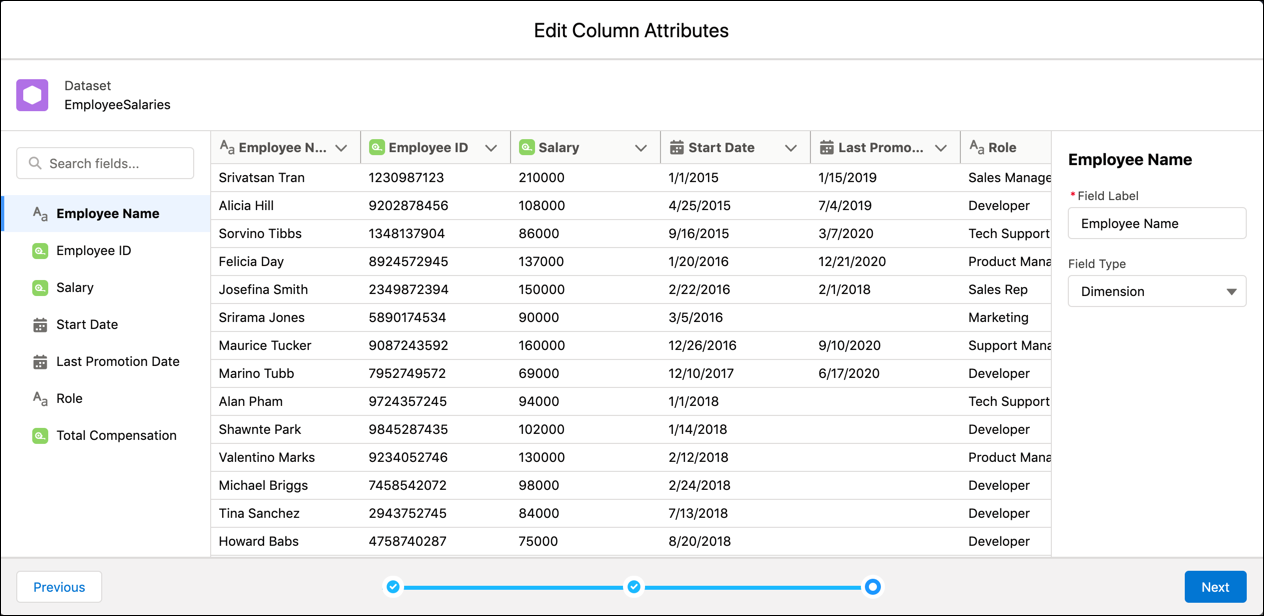
- To change a column’s attributes, click the column in the list on the left.Column attributes appear in the right panel. The column type determines the column attributes that you see.
 Important
Data Pipelines detects the format for date fields based on a sample of values. If the sample contains values with unsupported formats or a mixture of formats, Data Pipelines sets the field type to Text. If you change the date format that Data Pipelines detects, rows with a different format fail.
Consider this example data.
Row SIC Code SIC Description Last Updated 1 1110 Barley growing 1/10/17 2 1120 Rice growing 11/14/17 3 1130 Vegetable growing 1/1/17 Data Pipelines detects the date format for the Last Updated field as M/d/yy. This format displays months and days below 10 without leading zeros, and it displays years as 2 digits, as in 1/1/17. If you change the format to MM/dd/yy, rows 1 and 3 fail because Data Pipelines expects the month and day parts of the date values to have 2 digits.
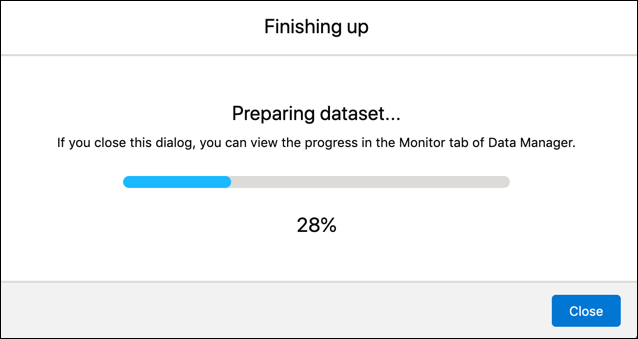
- When you finish reviewing or editing column attributes, click
Next.Data Pipelines uploads the data, prepares and creates the dataset, and shows progress as it happens.