In Salesforce Data Pipelines, Data Prep provides transformations that allow you to
prepare, clean, and transform your data. For example, you can use a transformation to create a
calculated column based on a formula. You add transformations inside a Transform node. You can
string together multiple transformations to manipulate data sequentially.
Required Editions
Categorize Date Column Values into Buckets
User Permissions
Needed
To manage and create a recipe:
Edit CRM Analytics Dataflows OR Edit Dataset Recipes
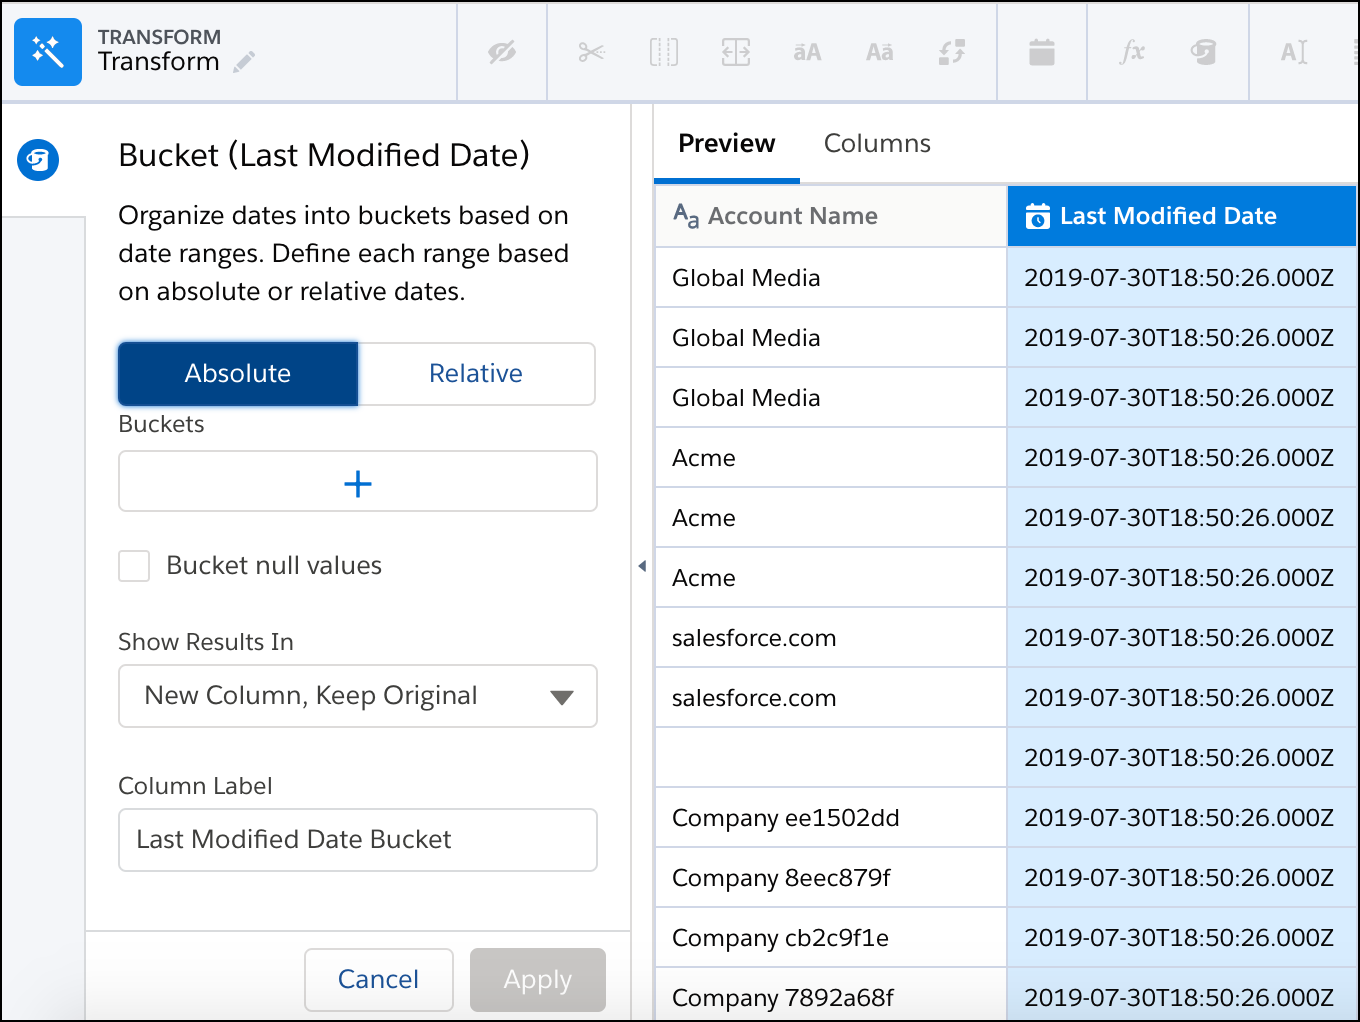
In the Transform node of a Data Prep recipe, select the date column in the Preview
tab.
In the Transform toolbar, click the Bucket button () to
define the buckets.
Select whether to use absolute or relative dates.
Absolute dates are defined dates
on a calendar, like July 25, 2023. Relative dates are a time period in relation to the
day the data is viewed, like last quarter, or next month.
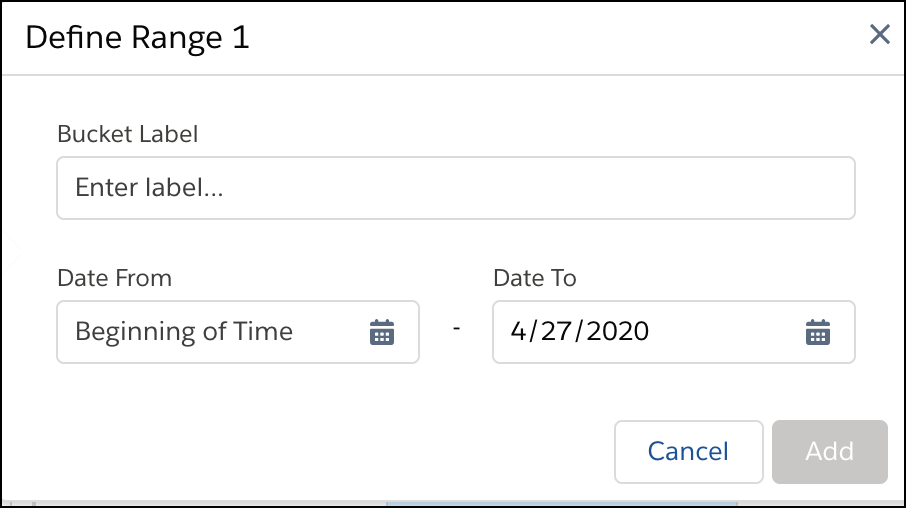
Select .
Enter a label for the first bucket.
The first bucket is for the earliest date range.
Each subsequent bucket must have a later date range than the previous bucket.
Select the date range for this bucket.
Click Add.
To create another bucket with a later date range, click and specify the details.
To place null values into their own bucket, select Bucket null
values.
Under Show Results In, select whether the new bucket values appear in a new column and
what happens to the original column.
If you elect to create a column, set its label under Column Label.
Click Apply to add the transformation to the Transform node.
The Preview tab shows the new bucket column.
To view the Graph area, click the Collapse button ().
Save the recipe.
After you run the recipe, you can view the bucket assigned to each row in the bucket
column.
Did this article solve your issue?
Let us know so we can improve!
Loading
Salesforce Help | Article
Cookie Consent Manager
General Information
Required Cookies
Functional Cookies
Advertising Cookies
General Information
We use three kinds of cookies on our websites: required, functional, and advertising. You can choose whether functional and advertising cookies apply. Click on the different cookie categories to find out more about each category and to change the default settings.
Privacy Statement
Required Cookies
Always Active
Required cookies are necessary for basic website functionality. Some examples include: session cookies needed to transmit the website, authentication cookies, and security cookies.
Functional Cookies
Functional cookies enhance functions, performance, and services on the website. Some examples include: cookies used to analyze site traffic, cookies used for market research, and cookies used to display advertising that is not directed to a particular individual.
Advertising Cookies
Advertising cookies track activity across websites in order to understand a viewer’s interests, and direct them specific marketing. Some examples include: cookies used for remarketing, or interest-based advertising.